I’ve been wanting to visit Peru for a really long time. Though I can’t remember the exact date, it must have been just before my birthday in 2021. From ancient WhatsApp chats, three of my quotes about Peru stand out:
- “Peru is beautiful”
- “I think it’s my top destination in SA rn…”
- “I’m curious to taste the flavour profiles in Peru”
And it seems like these feelings were inculcated in me by Anthony Bourdain in an episode of Parts Unknown. I vividly recall being disgusted (though equally fascinated?) by Bourdain being served guinea pig with a dark chocolate reduction.
Years passed and lots changed, and I (hopefully) changed too. The feelings about Peru never disappeared – they stayed dormant, but evolved as I grew older. Each year when I’d feel wanderlust, Peru would momentarily appear at the top of my list, but a confused part of me would delay it: I’ll go next year.
Years passed and lots changed, and I (continually) learnt more about myself. I learnt that I love nature, I learnt that I love travel and I learnt that I love life. Each year, the ups of life would push me deeper in love with life, but the downs would sting like never before: “I’ll live my life once I’ve figured it out” I told myself!
Years passed and lots changed, and I (finally) decided to commit to a trip to Peru. I was going to hike the stunning Huayhuash mountain range. I was going to fall in love with love itself.
Overview
This post will go through everything I did to prepare for the hike, from fitness training to a full breakdown of the gear (costs included). It is an honest view into the research I did in preparation for the hike, and the reasons for the decisions that I made. It acts as a helpful tool for me to put things into perspective as a final piece of preparation.
As of writing, I have not done the hike yet, however, when you read this I’ll already be in Peru – though the hike itself won’t begin for another four days.
The Cordilleras at a Glance
To the average person, Peru is known for its spectacular food and the Inca trail, but to the devout – the crazy worshippers of outdoor adventure – it is known for its much less trodden mountain ranges: the Cordillera Blanca and the Cordillera Huayhuash.
The Blanca is around 20km wide and 180km long, and is said to be the second highest mountain range in the world (second only to the Himalayas). With 50 razor sharp peaks exceeding 5700 meters, overlooking green valleys and stunning glacial lakes, it is a wonder to behold. I quote from an excellent 2010 guide book I copped from a charity shop for 50p: “The Cordillera Blanca is where superlatives crash and burn in a bold attempt to capture its beauty”.
Its much less known cousin is the Cordillera Huayhuash, a mountain range no less impressive with 7 peaks over 6000 m, with the highest being Yerupajá, at 6617 meters, the second highest mountain in Peru.
I was drawn to the Cordillera Huayhuash mostly because of the three lakes view:
But the Dora in me was also drawn to the length of the hike. Most treks in Peru span 3-4 days, especially around the Blanca. I believe that this limits what you can see, and removes the challenge, struggle and camaraderie that comes from a longer trip. The route around Huayhuash is also much less frequented, giving you a closer taste of raw nature.
Hike Logistics
The hike is 10 days, and while I tried to push for 12, it was really tough to find a group that was happy to commit to 2 extra days. The hike will take us around the mountain range in a circuit, covering 170 km. We’ll pass through 8 mountain passes, and will almost always be above the tree line. The thought of ascents of 700 meters per day has already taken my breath away – not sure I’ll have any left for the beautiful views!
Fitness
Such a hike can be physically demanding, especially due to the high altitude. I did my best to prepare for it, but TDLR: there is not much you can do beyond being as physically fit as possible.
Altitude Sickness
The main area of concern is altitude sickness. At high altitudes, air pressure is lower. This has two effects: 1) you lose more water from sweat and breathing1 and 2) your body absorbs less oxygen2. The first point makes dehydration much more likely, and it is not uncommon for hikers to drink up to 5 liters of water to compensate for the increased water loss. I believe that carrying electrolytes should help with the symptoms of altitude sickness if they are caused by dehydration, though I haven’t really heard this discussed anywhere online.
As for the second point, less oxygen in your blood leads to a higher heart rate. It is therefore a good idea to be as aerobically fit as possible to make life easier for your heart… you don’t wanna increase the risk of a heart attack! However, being aerobically fit doesn’t increase the amount of oxygen you can take from the air. This doesn’t mean that you shouldn’t train: being fit does make it less likely you’ll get altitude sickness3, but it doesn’t guarantee it. You could be the fittest person in the world, and still have issues with altitude.
It is a popular misconception that increasing VO2 max prepares you for altitude… and I think this reflects a misunderstanding of the science behind it. VO2 max is a measure of the maximum rate of oxygen that your body can transport during intense exercise. A higher VO2 max typically translates to being able to perform at high intensity for short amounts of time (e.g. sprinting, or the last push in a marathon). As a byproduct of having a high VO2 max, you will likely have a more efficient heart, better mitochondrial activity and more hemoglobin in your blood, so, your heart will be working less hard and you are less likely to get exhausted. However, a higher VO2 max does not mean that you can take in more oxygen from the air into your blood. Further, it is the wrong metric to optimize for, because VO2 max is a measure of the max intake at intensity. Hiking is an endurance activity, so what you want is to increase aerobic capacity using Easy/Zone 2 training: long distance cycling, long distance running, or long distance swimming.
It is also incorrect that training with an airflow-restricting mask replicates high altitude. It doesn’t change air pressure, so it will not change the rate at which oxygen enters your blood. All a mask does is strengthen your diaphragm. Finally, there are a tonne of resources online that suggest training for altitude by holding your breath for extended periods of time. I was not able to understand how this replicates high altitude – as far as I can tell this simply increases your tolerance to how much carbon dioxide you can have in your system. It may be helpful to get used to the physical symptoms of holding your breath, as these are very similar to what you experience at high altitude (e.g. dizziness), but I don’t think you are getting better at tolerating lower oxygen. One thing that I tried personally was to take half-breaths on a treadmill. This was an attempt to decrease the amount of oxygen that enters my blood by decreasing the amount available. After a few meters I would start to feel dizzy and have to stop. I’m not really sure if this did anything, and I found no references online that suggested this method of training.
So… what can you actually do to prepare for high altitude?
Based on what I read online, it seems like the only thing one can do is to sleep in one of those tents that create a low pressure environment… essentially mimicking high altitude at sea level. There is no other way to acclimatize.
What I Did
Around 2-3 months before the hike, I started some hike specific training. Exercises like step ups and step downs are excellent for building stability, and if you lack the necessary strength, compound lifts like heavy squats and deadlifts can help you build it quickly. Anti-rotational core work can also be helpful to help you distribute load when hiking. These include suitcase carries, pollock presses, and exercises to strengthen the obliques.
Unfortunately, I injured myself as I went a bit too heavy too quickly on the single leg exercises. Consequently, most of my training was limited to aerobic work: making sure that my body is really good at pumping blood efficiently.
Once I complete the hike, I will revisit the preparation to see if there is anything I would have done differently.
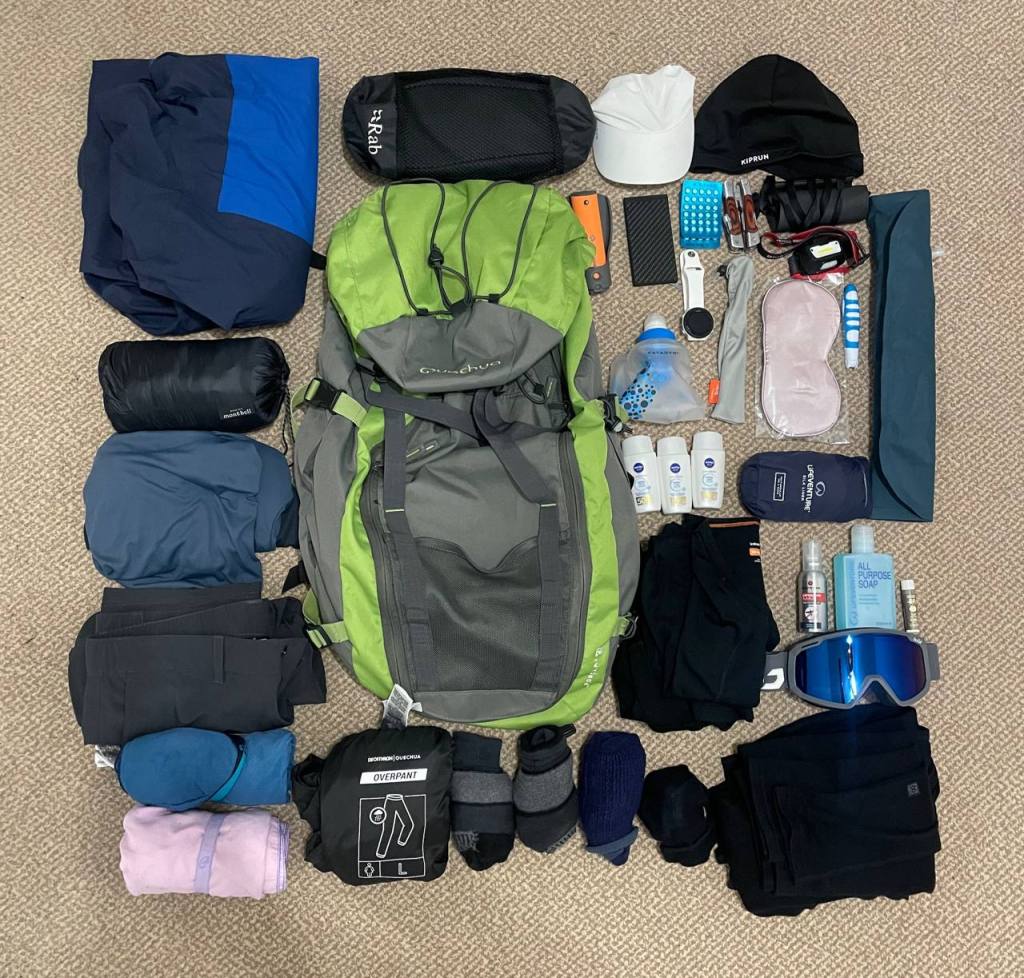
Gear
I could dedicate quite a few posts on gear alone because there is a tonne of information to share! But in the interest of being concise, I’ve split the gear into two categories: Necessities and Luxury Items. Please note that my viewpoint may change after the hike is over, in which case I’ll revisit this and update!
Necessities
These are the things I think are necessary for a good, safe and enjoyable hiking experience. Not all are essential for survival, but neither is food nor is hiking with a group. Feel free to disagree.
Sun Protection
At high elevations, you are exposed to much higher amounts of UV radiation. It’s as if God is telling you: I’ve not designed this part of the world for you mortals to desecrate. It is hard to say exactly how much worse UV radiation is at altitude, but estimates range from an increase of 1.2-2% per 100 meters (328 ft). This means that at the highest point of the hike, at 5050 meters, you could be exposed to 101% more UV radiation than you would be at sea level. It is therefore imperative to protect yourself as best as you can.
My sun protection strategy has four components: Sun Screen, Lip Balm, Sun Hoodie and a Cap.
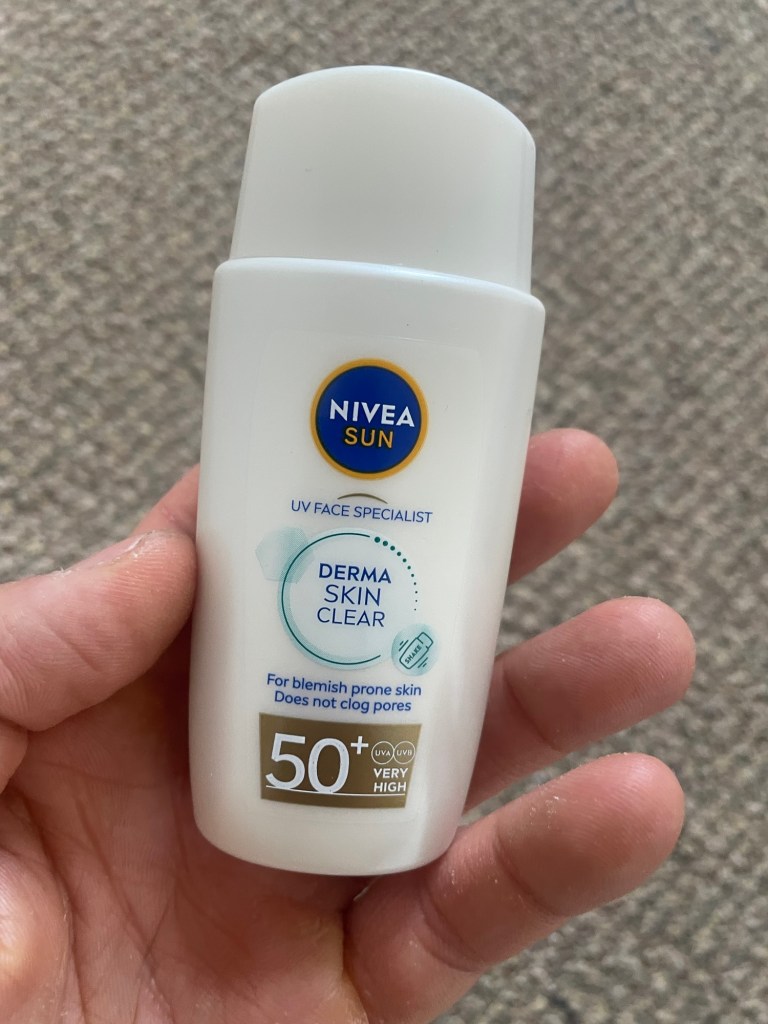
Sun Screen
I decided to go for SPF50+ sunblock. Now, while it is technically better to get mountain specific sunblock from brands like LifeSystems, I decided to go for Nivea mostly as a cost saving/anti-waste measure, since I already had some that I’d bought for discount.
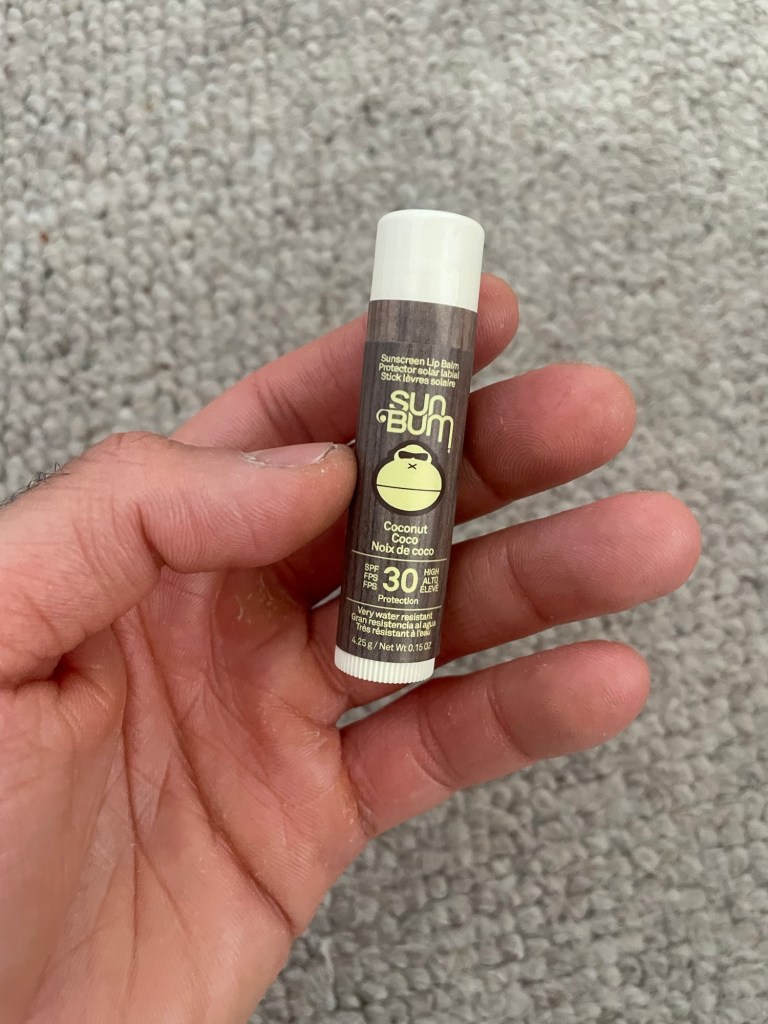
Lip Balm
Unbeknownst to me prior to researching for this trip… your lips need to be protected from the sun as well! In fact it appears that the lips are far more sensitive to UV than your skin.
To my surprise though, lip balms with an SPF rating of greater than 30 are rare to find, and this appears to be because with higher SPF ratings, lip balms become very dry and uncomfortable.
In the end I copped a 30 SPF SunBum lip balm that is graded for high altitudes.
Sun Hoodie
Unless you want to apply sunblock on every part of your body every day, a shirt that covers your skin is necessary. You should make sure to wear it even if the temperature is hot to protect yourself from the sun.
While there are brands that make “hiking specific” or “altitude specific” sun hoodies, based on my research it appears that most materials that are tightly knit and dark should offer at least 30 SPF, even if they are not graded so. You could pay more (… much more) for the assurance, but if you have a base layer, and on top of it a sun hoodie, then you are sure to be protected from the sun.
However, it’s important to look for something that:
- Covers your neck and ears (unless you have a different solution for those areas)
- Isn’t too tight fitting, allowing it to be breathable (and helping with covering your neck), but also not so loose that areas of your skin will be constantly exposed
- Is made of a breathable/moisture wicking material (aka: avoid cotton, which you’ll see soon is a theme in this blog)
I went for a fisherman’s top from Decathlon.

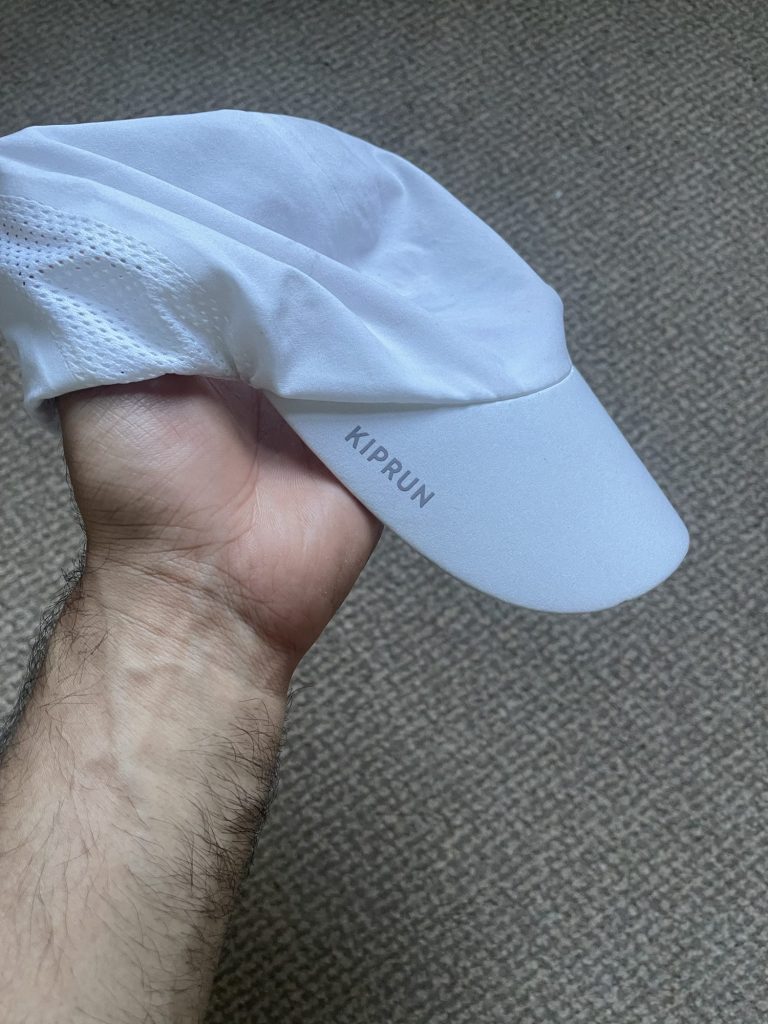
Cap
The hood from the sun hoodie will protect your ears and neck, but you’ll still need some protection for the face and eyes. A cap is a simple and cheap solution!
I used my collapsable running cap that I’d bought from Decathlon, but really any cap that is tightly knit will work. As with the sun hoodie, if it is darker, made of synthetic and moisture wicking materials, then it is better… but this is less important for the cap!
Hygiene
Perhaps the thing most people are concerned about. In my case, this is a close second to altitude sickness. It is crazy that you hear stories of hikers who hike for weeks or months with just two pairs of underwear! So how does one keep clean on a hike?
Merino Wool
When you research into hiking gear, you keep hearing about this magical material called “merino wool”: it keeps you dry, it is odorless and it keeps you warm when it’s cold and cool when it’s hot.
The reason for these magical properties is because merino wool is super moisture wicking: so any sweat from your body will float to the surface of the material and (with a correct layering system) evaporate. It’s this moisture wicking that keeps you dry, and consequently, “cool” when it’s hot and “warm” when it’s cold (because you won’t be wet).
Serious hikers will typically wear merino wool tops as their base layer, merino wool shorts/pants as their underwear and merino wool socks. It is not uncommon to hear of hikers carrying only two pairs of each: one pair to sleep in, one pair to hike in.
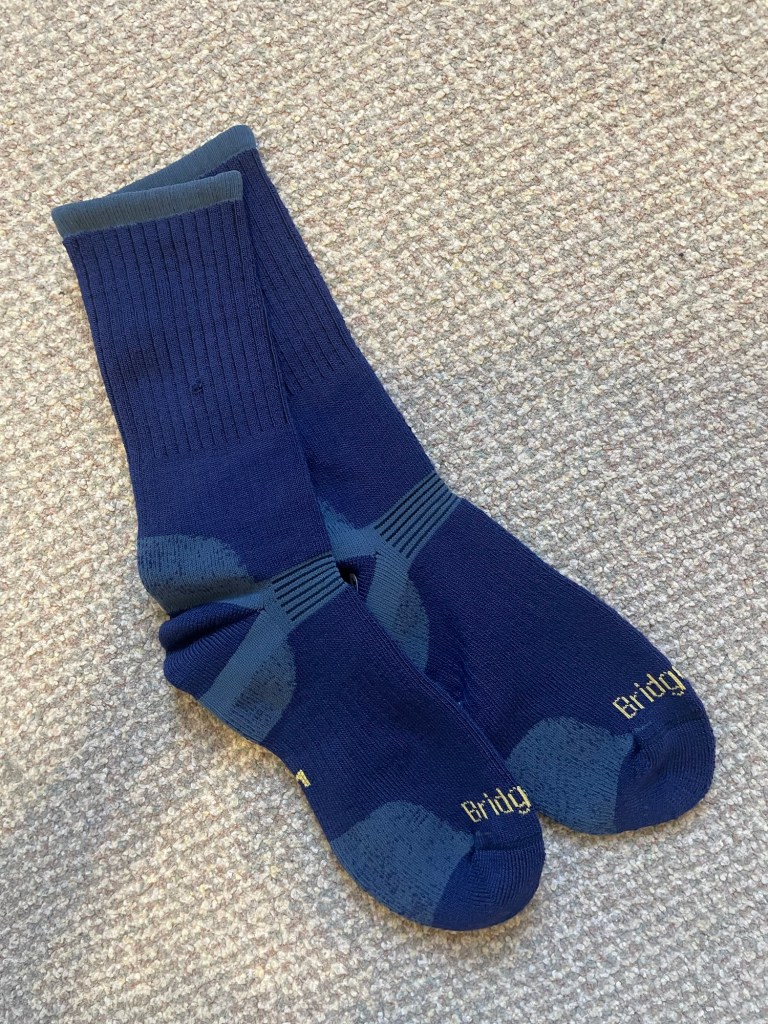
As a newbie to the sport, I thought: OK sure, what I’ll do is just pack a few extra pairs of each. The issue? Merino wool is super expensive. Tops and shorts/pants will set you back around 80-100 pounds each. The socks are more affordable at 25 pounds each (though you can buy them discounted at around 12-13), but they tend to be merino blends (due to durability concerns).
Initially I tried to find ways around spending so much, so I bought a few pairs of synthetic “moisture wicking” boxers from Decathlon. These were terrible at wicking moisture, and I found them to smell even worse than cotton undergarments after intense sessions. So I thought how about I give the merino wool a try?
I bought a pair of the merino blend socks, and wore them for a few day hikes. I didn’t wash them on purpose, just to see if they would smell after a few uses. I’m happy to report that they do not smell at all!
Given the success of this experiment, and the mountain of endorsements for merino wool, from bloggers, YouTubers, hikers and even some bikepackers, I concluded that merino wool, despite it’s high cost, is worth the money you spend. I’d rather hurt my wallet now than hike at 5000 meters wet, gloomy and smelly with an unwanted yeast infection. It is also very likely that you will use this again, which can’t be said about a lot of the other gear!
For the fit, similar to the sun hoodie, make sure that it is neither too tight nor too loose. Too tight and you’ll retain all the moisture and it will restrict your mobility, too loose and it won’t be able to wick moisture too well, plus it won’t insulate you well when it’s cold. Oh and also, too loose = too much friction, so you may get rashes.
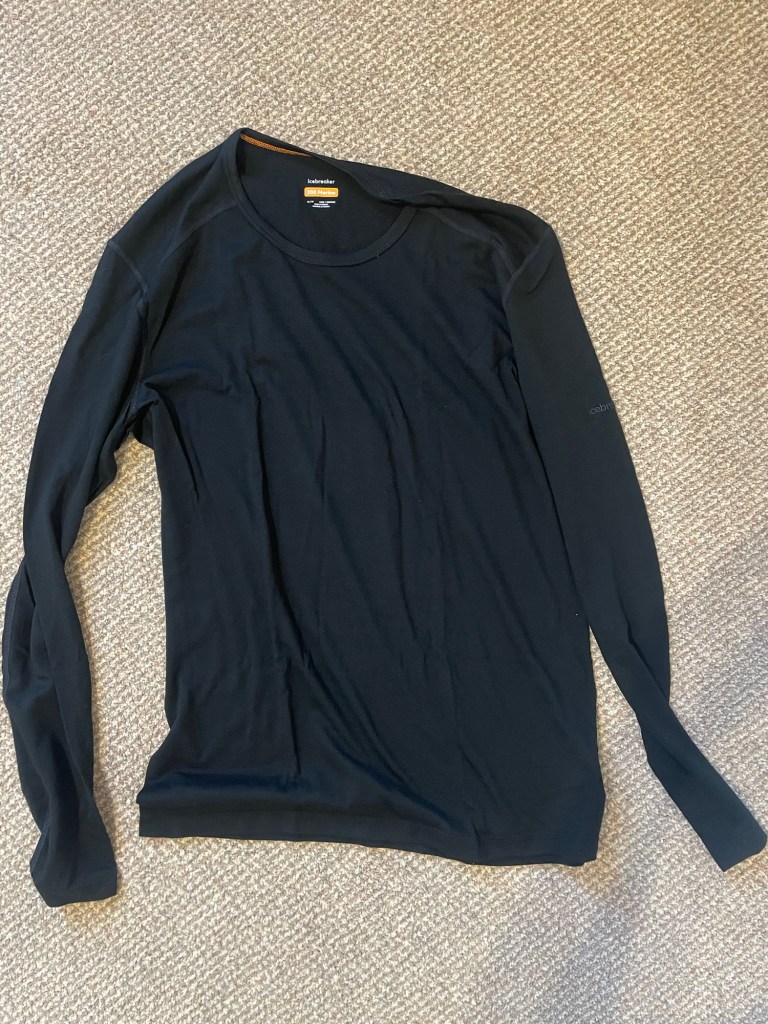
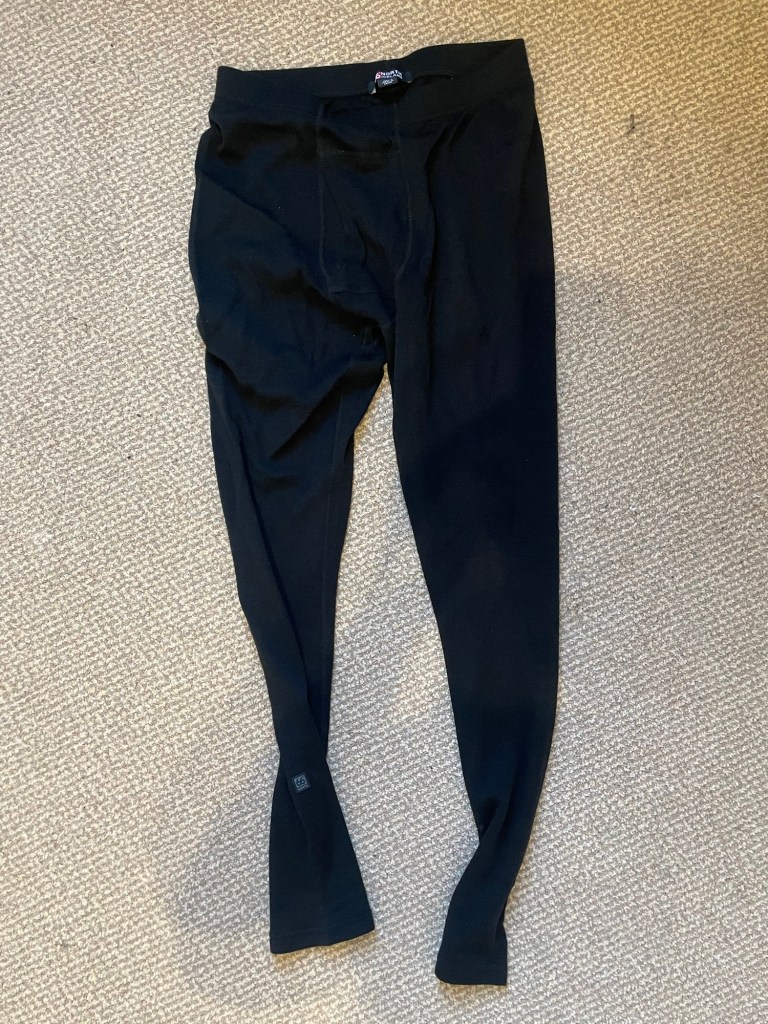
In the end, I got three pairs of merino socks from bridgedale, two pairs of icebreaker merino long sleeve tops, one pair of icebreaker merino leggings, and one pair of Route 66 Basar leggings.
Trowel
On the trail, you will inevitably need to take a number 2. Make sure to follow responsible hiking practices: dig out a hole to store your crap. No one wants your shit in their drinking water.
A trowel is what you need to do this. They are very cheap and light, so there is no excuse.
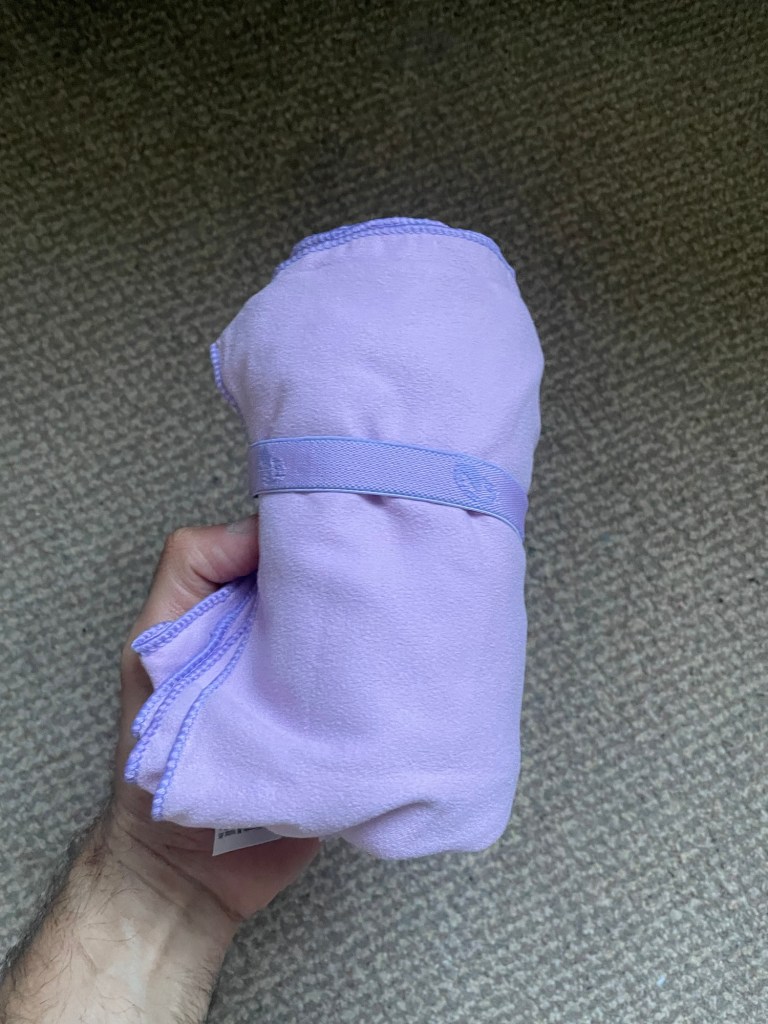
Towel
An obvious one. I’m taking two microfibers that I got from Decathlon.
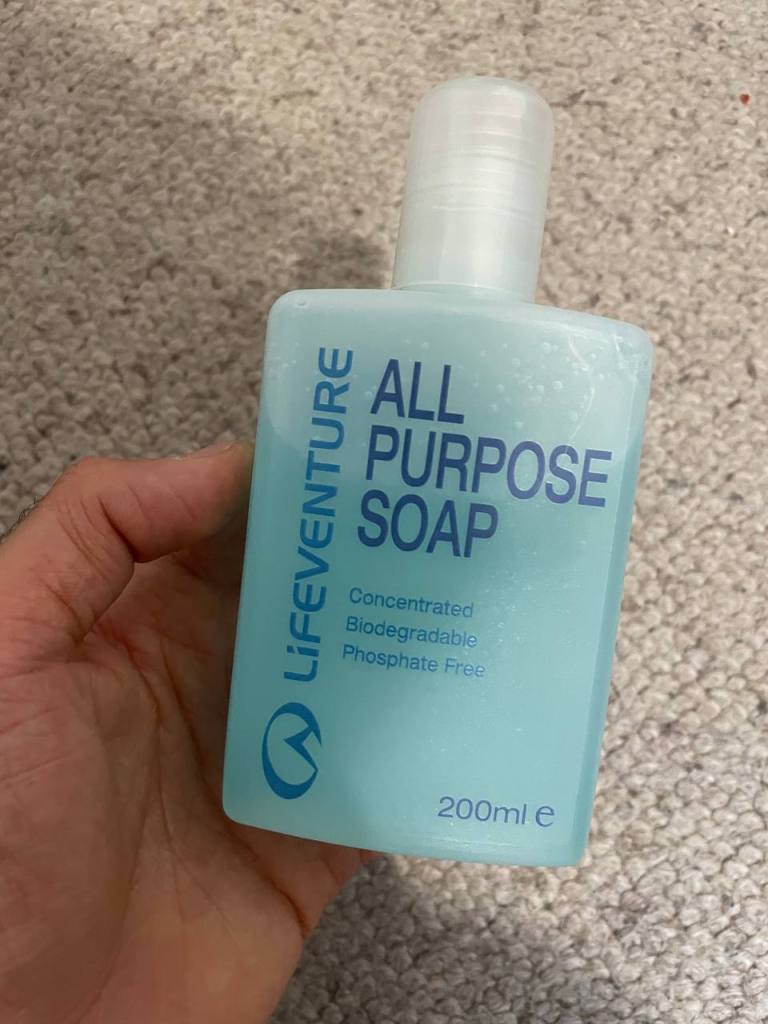
Soap
An all purpose soap that is biodegradable is essential to keep clean on the hike. Beyond washing your hands and food, you can use this to wash your clothes if they get stinky.
I got a bottle from Lifeventure.
Weather Protection
Beyond the sun, you will need to protect yourself from the elements. Temperatures in the mountains fluctuate drastically, and it is normal for it to each subzero temperatures at night. The weather is also fickle: it can turn windy or rainy anytime.
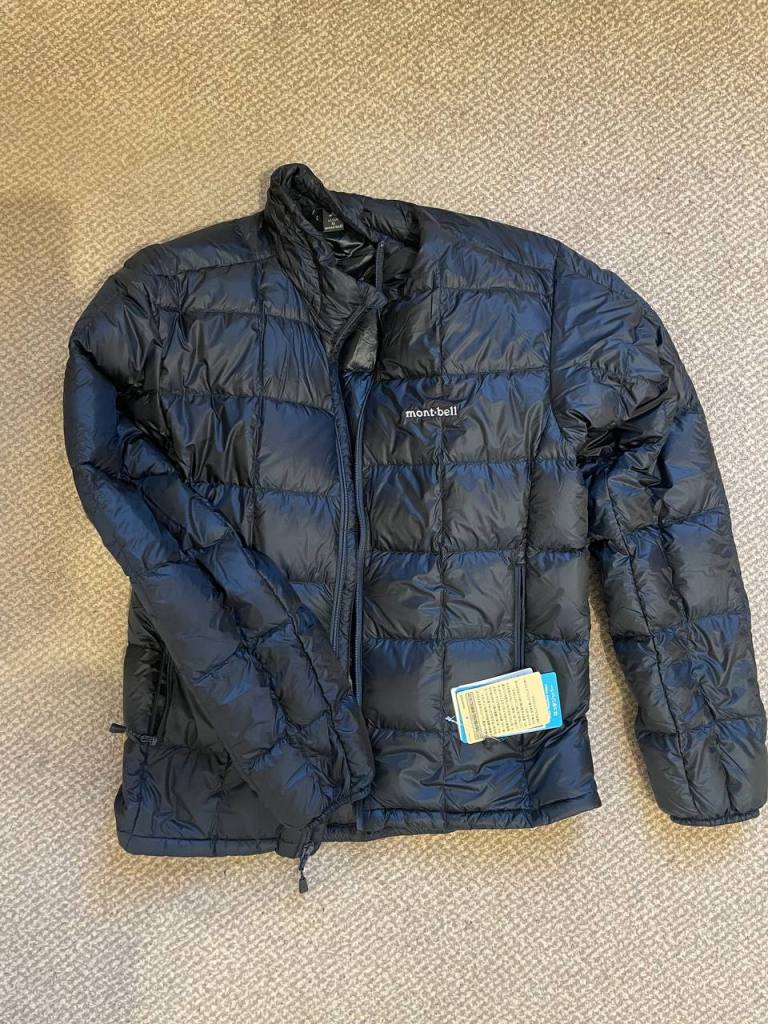
Down Jacket
Perhaps the most important piece of gear is a good down jacket. These jackets offer immense amounts of warmth for a tiny amount of weight.
Their downside is that they are very expensive, but you could justify this as you it is an investment you make for years to come, and you will use it outside of the hike if you live in a country with winters that have temperatures of sub 10 degrees celsius.
There are many good brands to choose from, and in general, the prices are fairly similar. If you go for a hooded option, you’ll generally pay a bit more. In my case, I went for a hoodless option as:
- I prefer a hoodless option for my uses outside the hike
- I have other strategies for keeping my ears and neck warm
Look for down jackets that have a good fit: not too tight, and not too loose. If they have an FP rating4, go for something above 750, ideally 800.
In my case, I went for a down jacket from a Japanese company called Montbell, as I found their jacket discounted, and I determined that for the price, I was getting a better value than equivalents from Rab, Patagonia and Arcteryx.
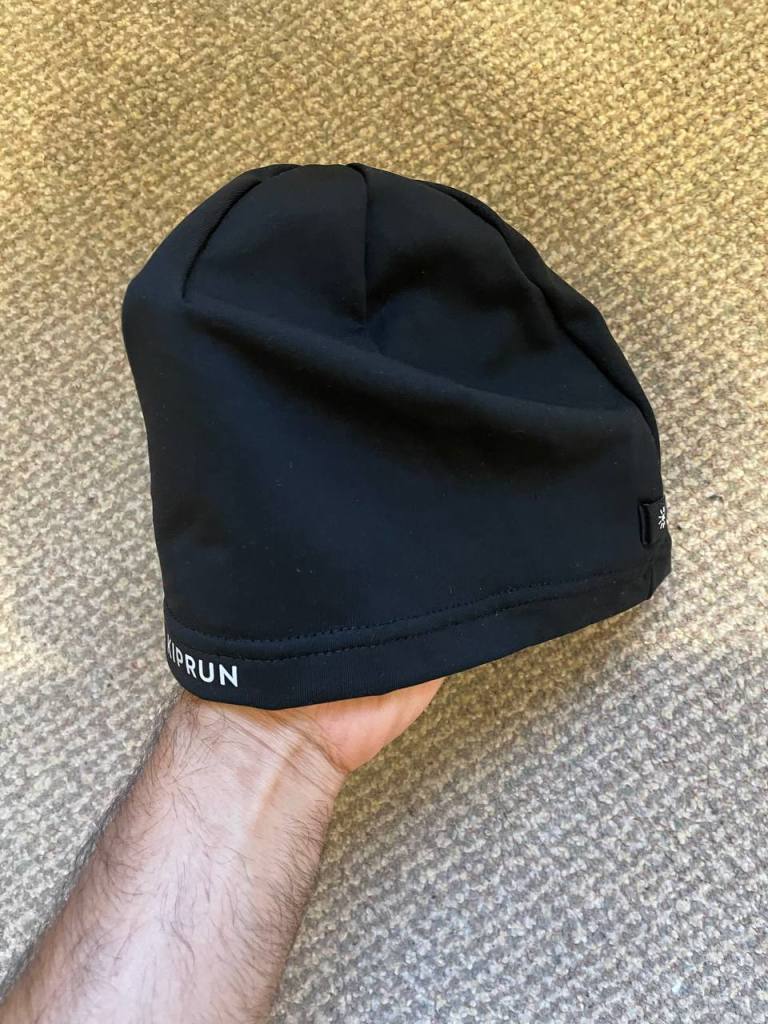
Beanie
Since I didn’t get a hooded down jacket, I’m taking my synthetic collapsable running beanie with me, to keep my ears nice and warm. I decided that for me personally, a fully zipped up down jacket should suffice for keeping my neck warm.
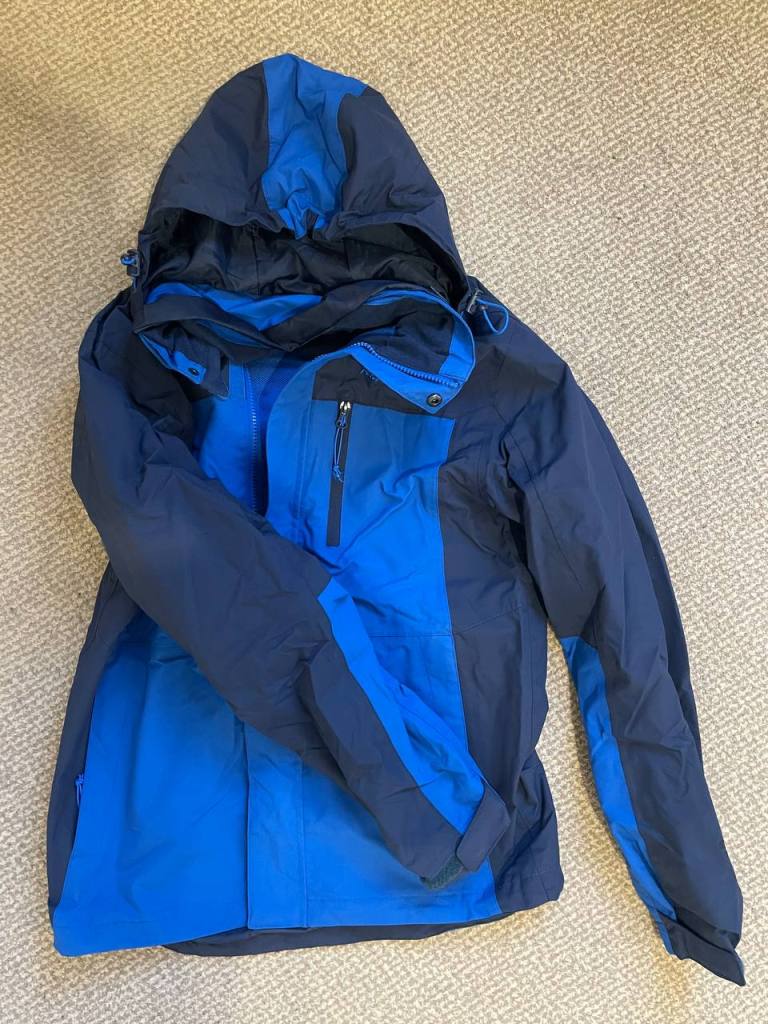
Hard Shell
A hard shell is where you can spend a truckload of money if you’re not careful. Brands like Arcteryx make what appear to be excellent hard shells, to protect you from both the wind and the rain, but they will set you back around 300 pounds. I was tempted to go down that route, since the hard shell that I currently have (Peter Storm Pennine) has gotten wet under intense rain, despite boasting a hydrostatic head of 10000mm. However, after doing research online I concluded that it is not worth the price since most people report using their hard-shells less than 10% of the time when hiking. I could not see myself using an expensive hard shell very regularly, so it didn’t make sense to make that investment.
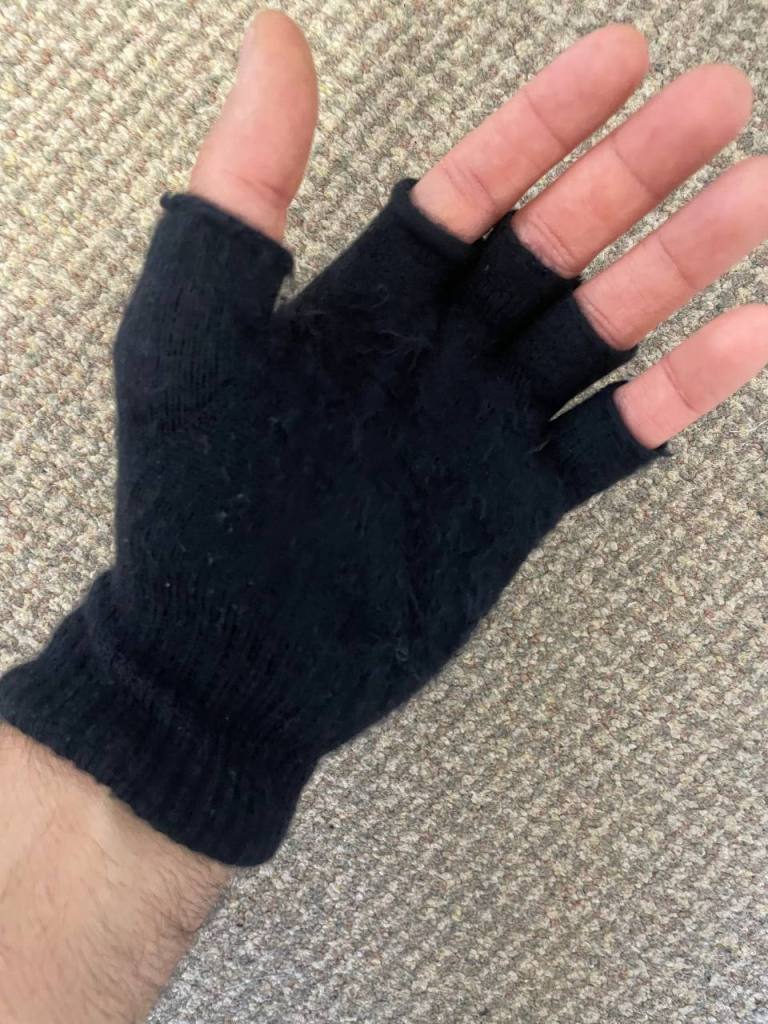
Gloves
When it gets cold, it’s nice to keep your hands warm. I went for merino wool gloves, which were relatively cheap. My preference is to go for dexterity over warmth, which is why I got fingerless ones.
Water Purification
When hiking, especially at altitude, hydration is of utmost importance. However, given that the hike is 10 days, it isn’t practical to carry all the water you’l need to drink, especially since at altitude you may be drinking 5-6 liters of water per day. Therefore, being able to clean water from streams and lakes is essential.
There are generally three types of pathogens you need to protect yourself from: cysts, bacteria and viruses. All of these pathogens can be killed by boiling water for a certain time5, but it isn’t practical to do this every time you want to drink water.
As such, two methods are typically used to clean water:
- Filtration, which removes bacteria and cysts, but not viruses (as they are too small, and therefore slip through the filters)
- Sterilization using chemicals or UV light, which kills all pathogens (but ideally, the water should be filtered)
In general, it is my understanding that most people stick to filtration only, as the risk of getting viruses from the water sources in the area is low.
However, I would much prefer to be on the safe side, which is why I initially planned to use UV sterilization, using a SteriPen, and to have chlorine dioxide tablets as a backup, should the SteriPen fail.
I decided to scrap the SteriPen completely as it is a garbage piece of technology… which I should have known from the reviews online.
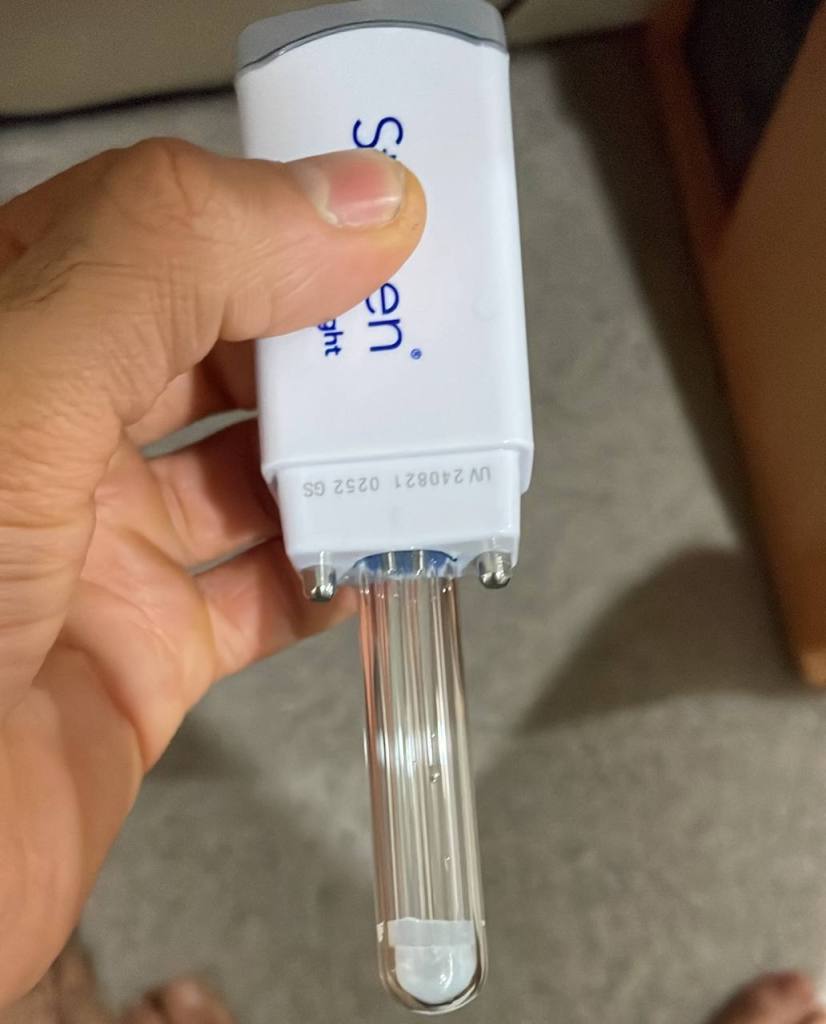
Firstly, its design prevents the purifiers and sensors from coming in contact with water if you are using a standard water bottle, and secondly, it was not working when I got it. And if it’s not working in normal conditions, then it will surely fail in the harsh elements when I need it most.
I returned it on a warranty claim, and decided to stick to chlorine dioxide tablets as my purification method6.
Water Filter
There are many water filter solutions that you can buy online. I went for Katadyn’s BeFree because of its apparent ease of use.

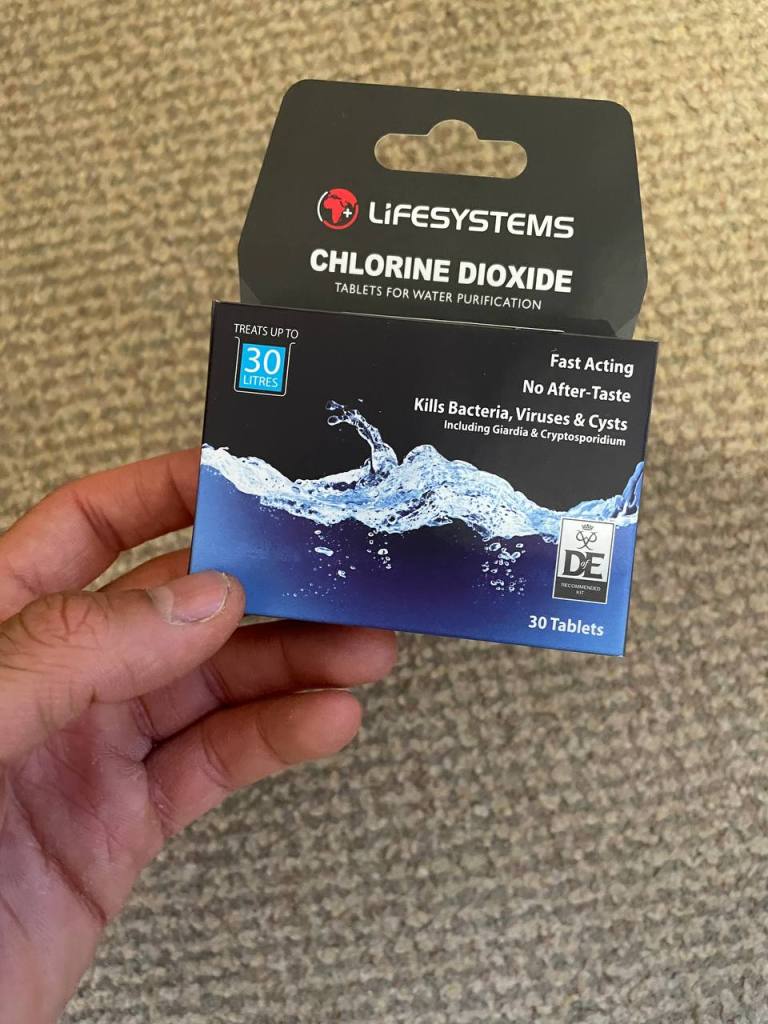
Chlorine Dioxide
Not much to be said about chlorine dioxide either. You can get it in a liquid form, but I thought that tablets would be easiest.
Hiking Gear
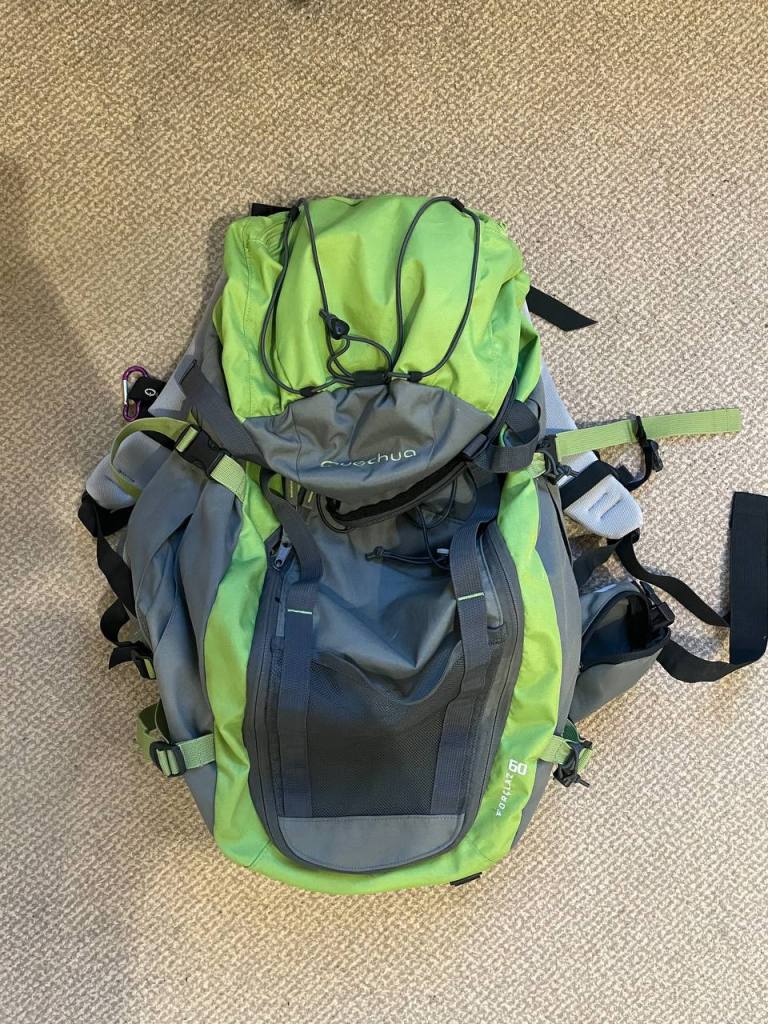
Backpack
The trekking company I’ll be hiking with recommends a 30/35 liter hiking bag. I didn’t think it made any sense to buy a new one when I had one already, albeit with a capacity of 60 liters. All this means is that I can carry extra toilet paper!
It may be tempting to use a normal backpack, but I would advise against this. Hiking bags are designed to distribute most of the weight on your hips rather than your back and shoulders, which will make the trek much easier over the long run.
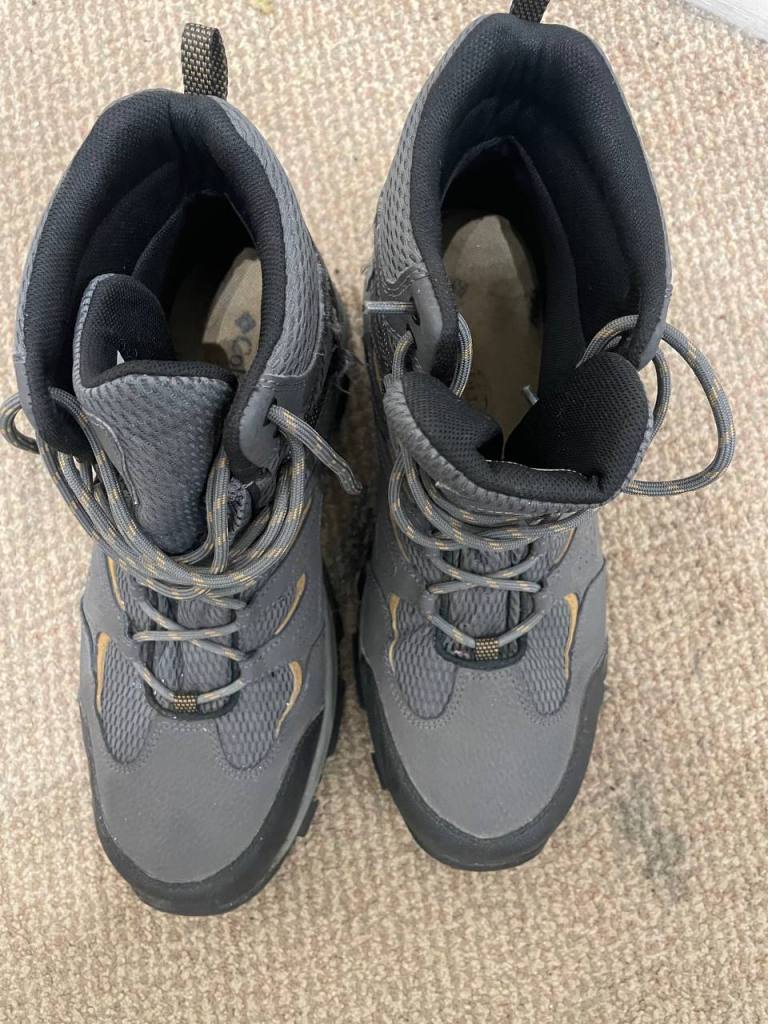
Hiking Shoes
I had a pair of old Columbia hiking shoes, which happen to tick the right boxes: waterproof, high-top and rugged. It didn’t make sense to invest in new shoes, though I hope I don’t sorely regret my decision as I feel like the Columbias don’t have an optimal fit…!
Walking Sticks
I was dogmatically opposed to using these. I think they look really funny, and when walking I love having my hands free! I also have a fear that if I start to use them, I’ll end up like one of those old German ladies who rely on them even when walking through paved streets!
That said, my dogma isn’t strong enough to refute science: these sticks are a necessity for long hikes with uneven terrain, as they greatly reduce load on the joints. I can imagine sorely regretting not having these when descending 1000 meters!
I decided against buying a pair of these, as you can rent them for very cheap in Huaraz.
Hiking Over-trousers
Some may consider these a luxury, as I haven’t seen hikers swear by them. However, downpours are hard to avoid in the mountains, and I’d rather have dry pants. They are fairly light and pack well, and I had a pair already, so I thought why not take them with me?

Safety and Emergency
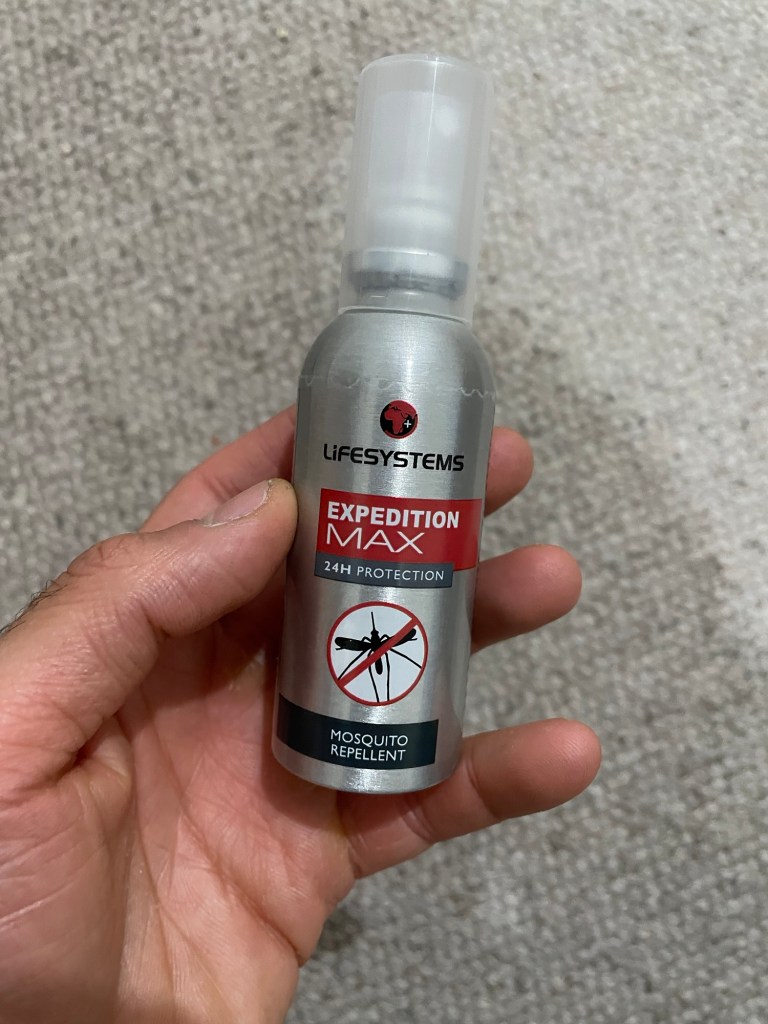
Insect Repellant
Mosquitos don’t really thrive at altitude, but I’m taking this as a precaution!
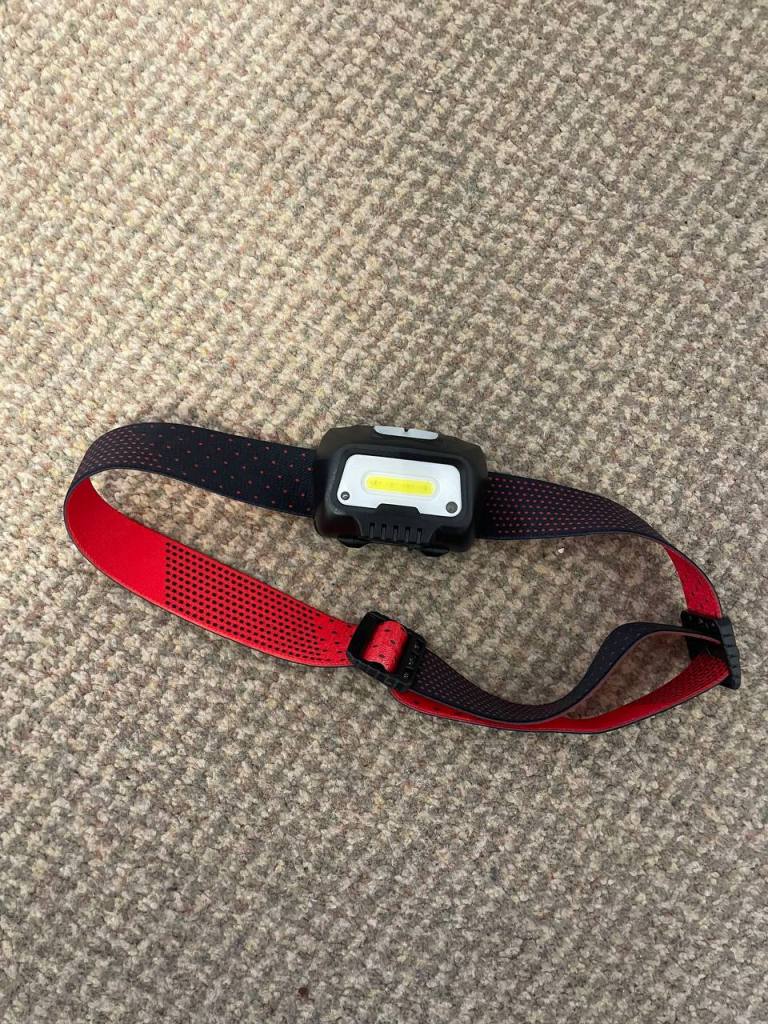
Headlamp
No light = no sight. I want to know where I’m going if I’m gonna wake up freezing in the middle of a night and in need of a wee.
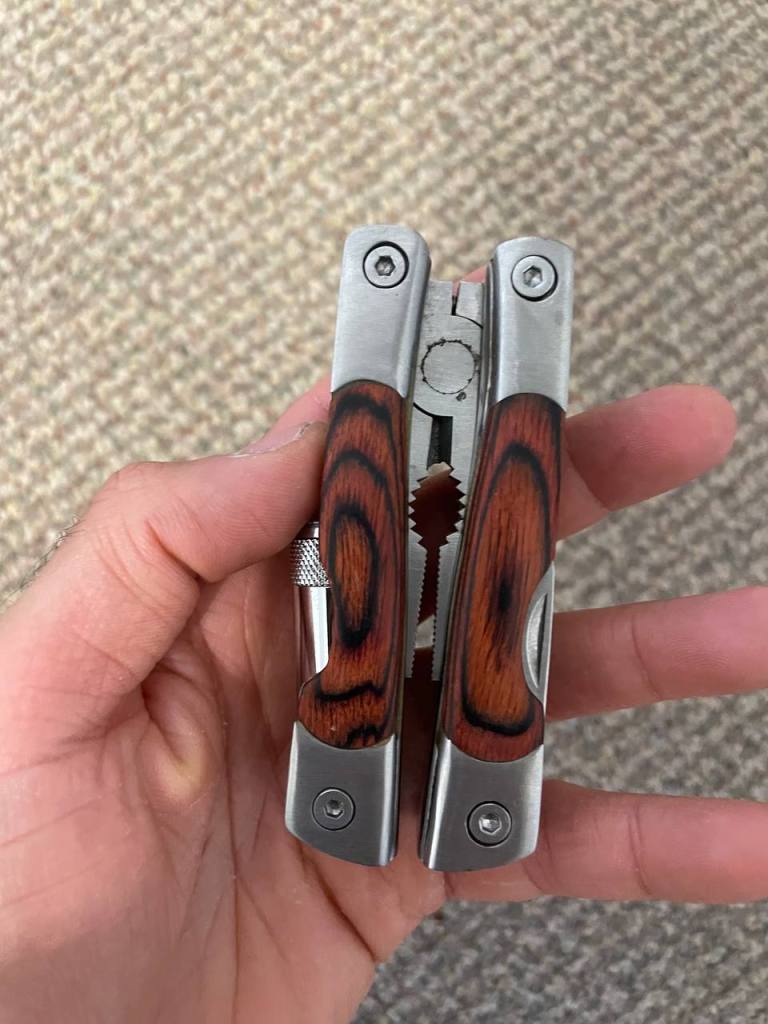
Swiss-Army Knife
A handy tool that can help with most issues you’ll face on a trail.
First Aid Kit
Electrolytes
Sleep System
Tent
Luckily, we will be given tents by the trekking company, so there’s no need to buy one.
Sleeping Bag
No need to justify why this is a necessity (though hardcore people do sleep without them…). The key thing for a high altitude hike is to invest in a bag graded for subzero temperatures. Since such bags are super expensive, I’m going to rent them in Huaraz.
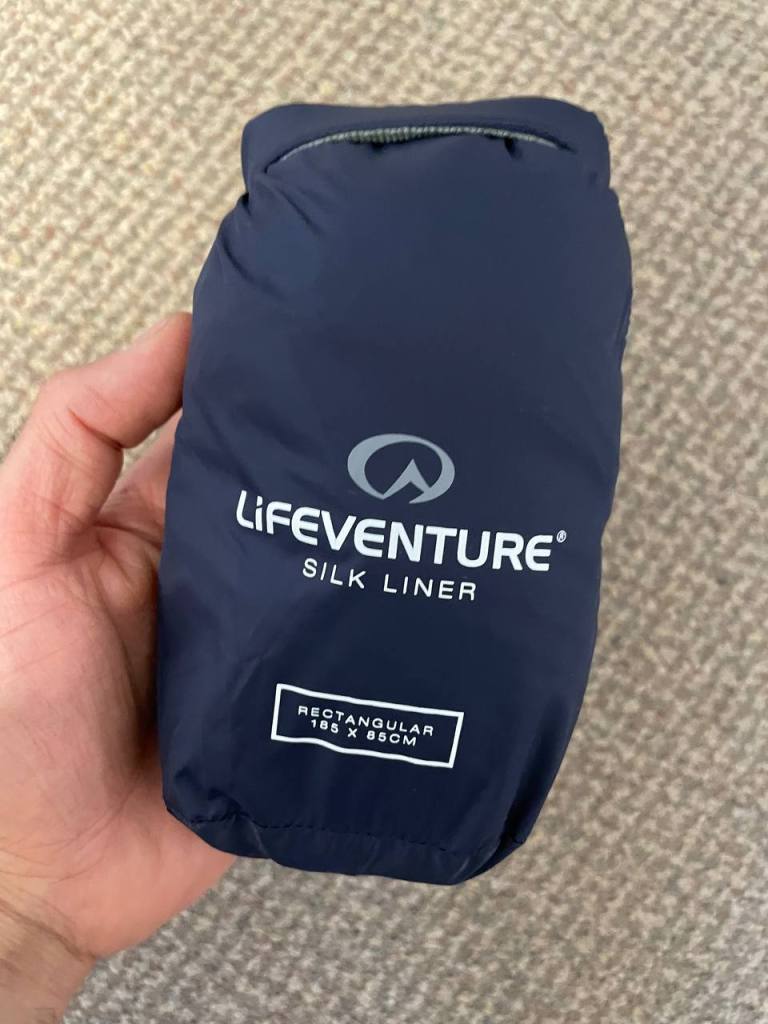
Liner
Many people buy these to stay warm, but I got them for hygiene reasons. It can be argued that this is a luxury item, but unless you have your own sleeping bag, you have no idea if the one you’re given is clean.
Sleeping Pad
I don’t want to feel rocks on my back.
I won’t be buying a sleeping pad though, as they are provided by the trekking company.
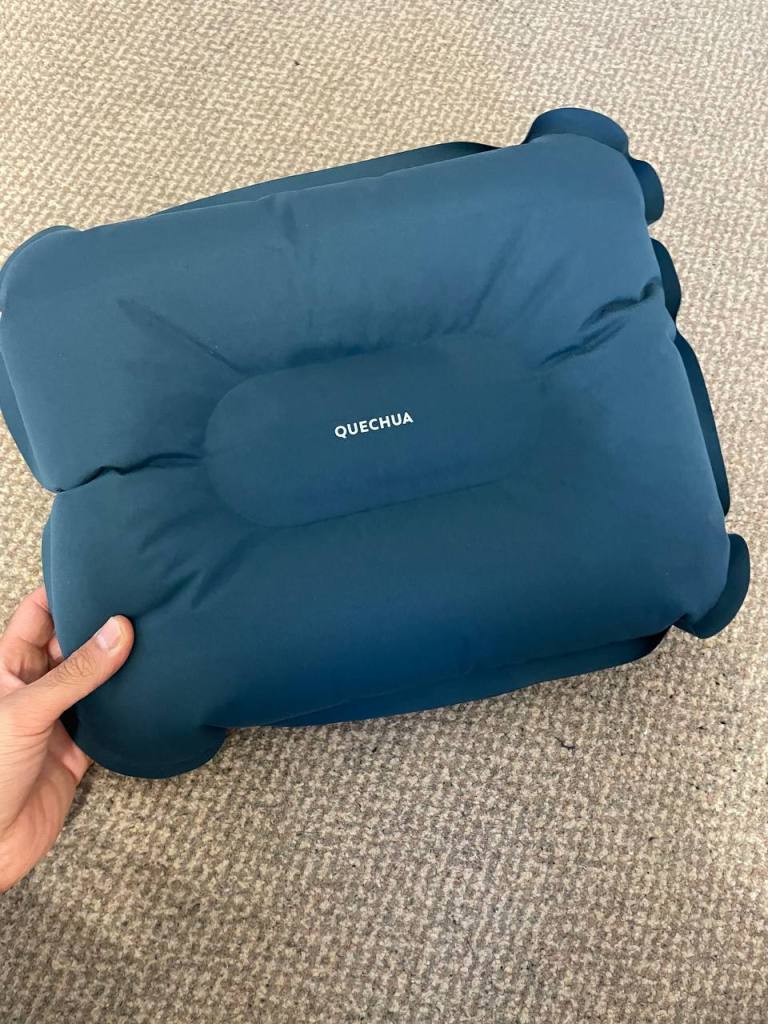
Pillow
I like to rest my head when I sleep.
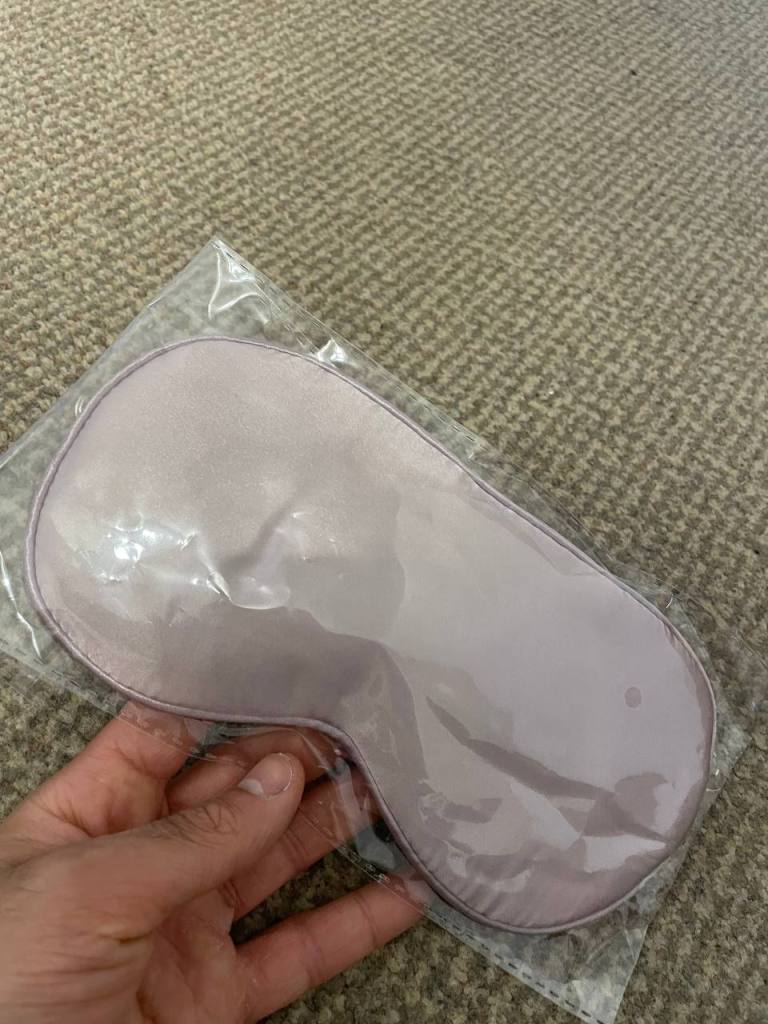
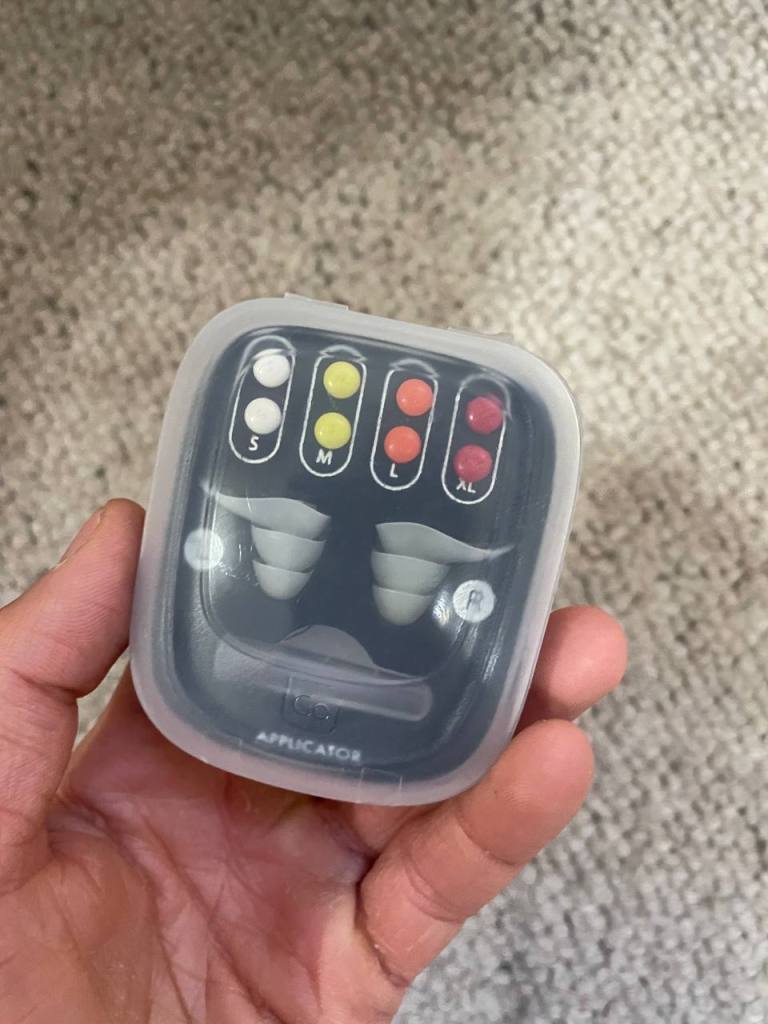
Earplugs and Eye Mask
At altitude, your sleep will be severely disrupted. Mostly because of apneas induced by the decreased oxygen intake. So it’s a good idea to do your best to decrease awakenings induced by noise and light!
(I will also be hostelling, so I’m sure they’ll come handy there…)
Luxury Items
Sun Protection
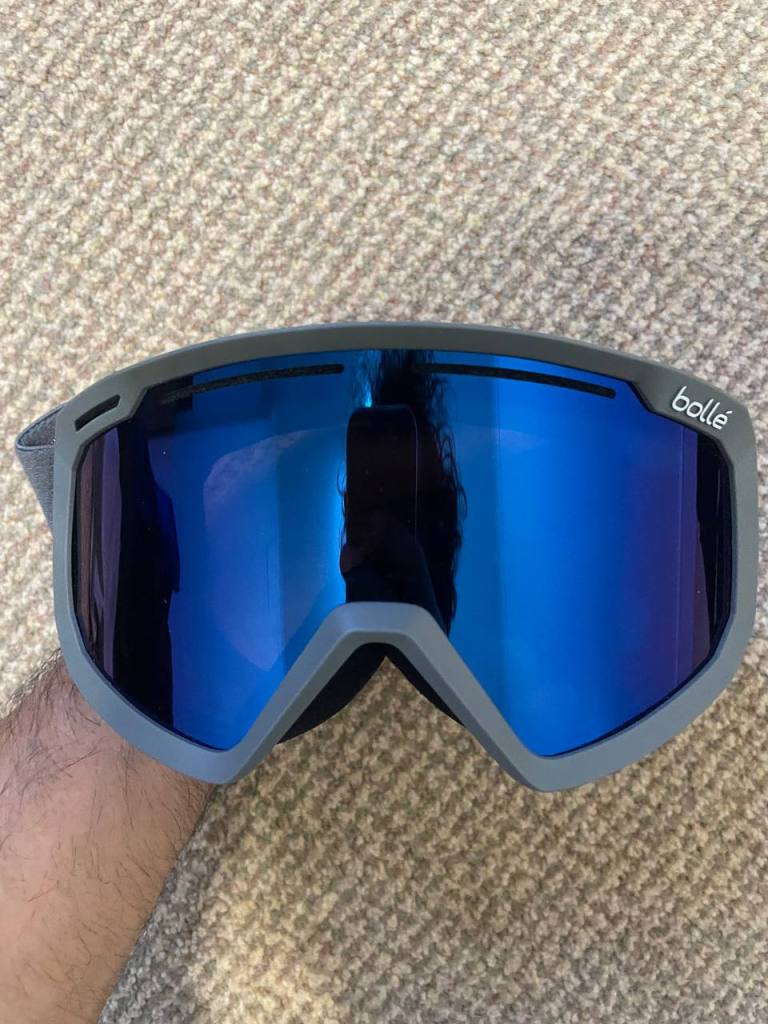
Ski Goggles
Much like the rest of your skin, your eyes are susceptible to damage by UV. So you need to protect them even more at altitude. I believe that sun glasses should suffice, but as I wear glasses, I thought it would be a good idea to invest in a good pair of ski goggles that I can wear over them. Sure, I’ll look a bit goofy… but that’s what women like, am I right?
Hygiene
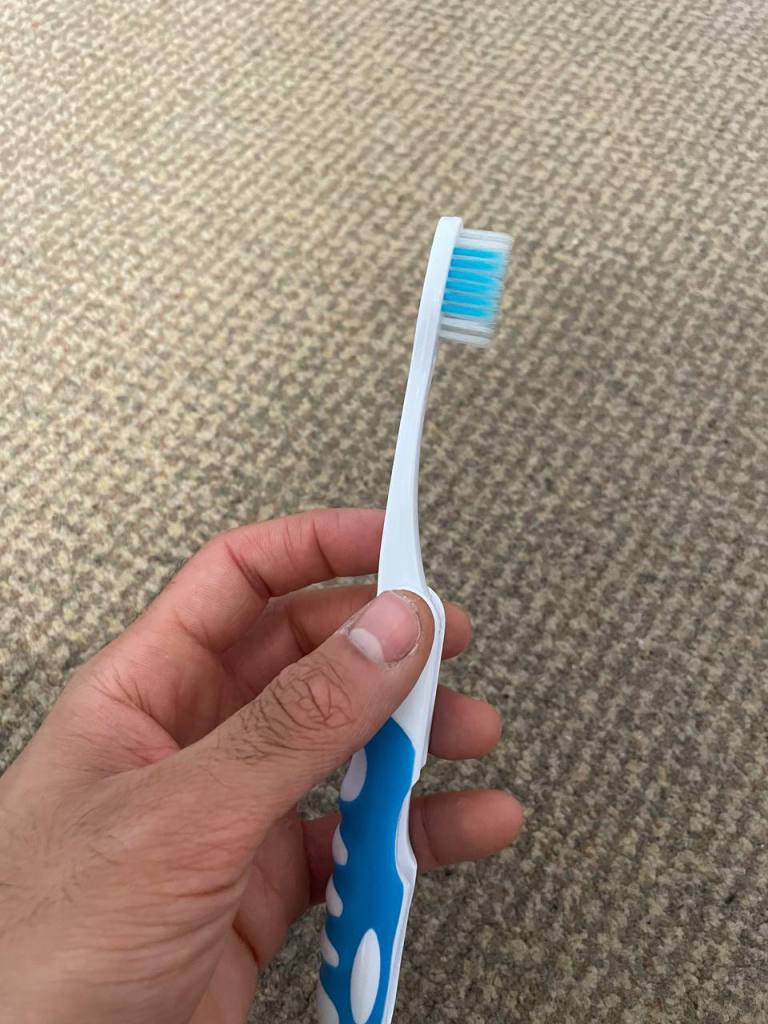
Travel Toothbrush
Don’t interpret this as “toothbrushes are luxury items”. I’m talking specifically about travel toothbrushes. However, they are so cheap and so convenient, so I thought why not grab me a pair?
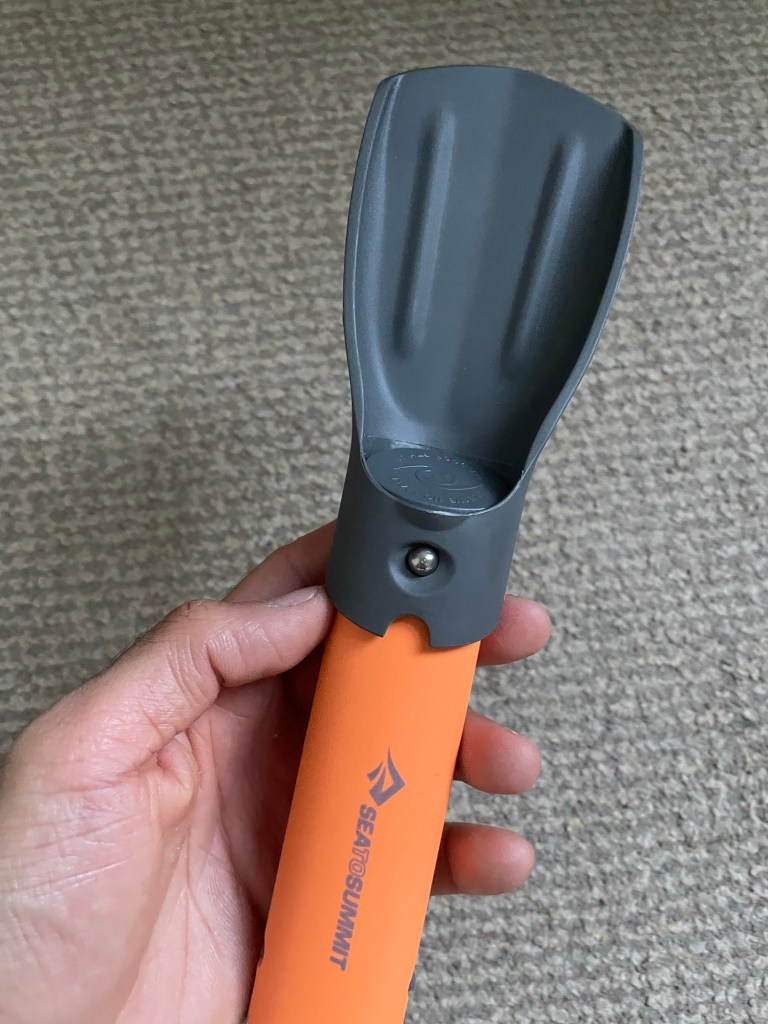
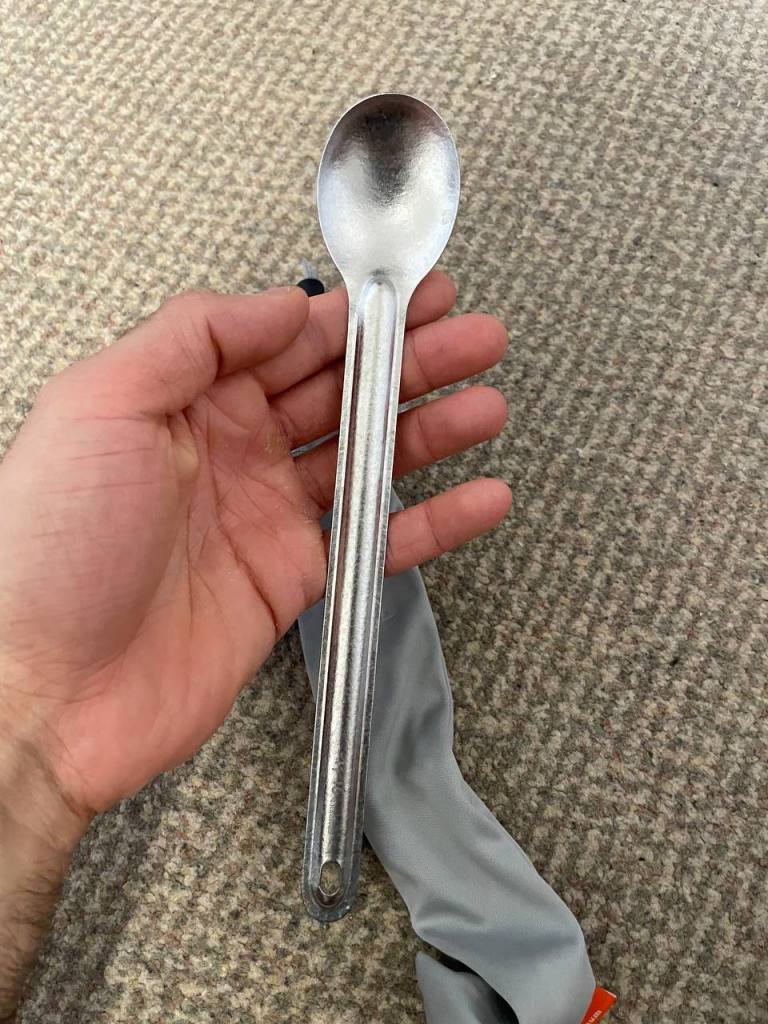
Long Spoon
I get really annoyed when a spoon is too small, too big or too short. I want to get the right amount of food with each bite and be able to dig deep into cylindrical containers. This spoon is a bit small for me, but the size is a tradeoff for being able to spoon the corners of almost any container!
Also: I am anti-spork. I mean come on, a fork that doesn’t grab food very well, and a spoon that is as bad as a fork when it comes to getting that last morsel of food?
Get outta here.
Give me a long titanium spoon instead!
Weather Protection
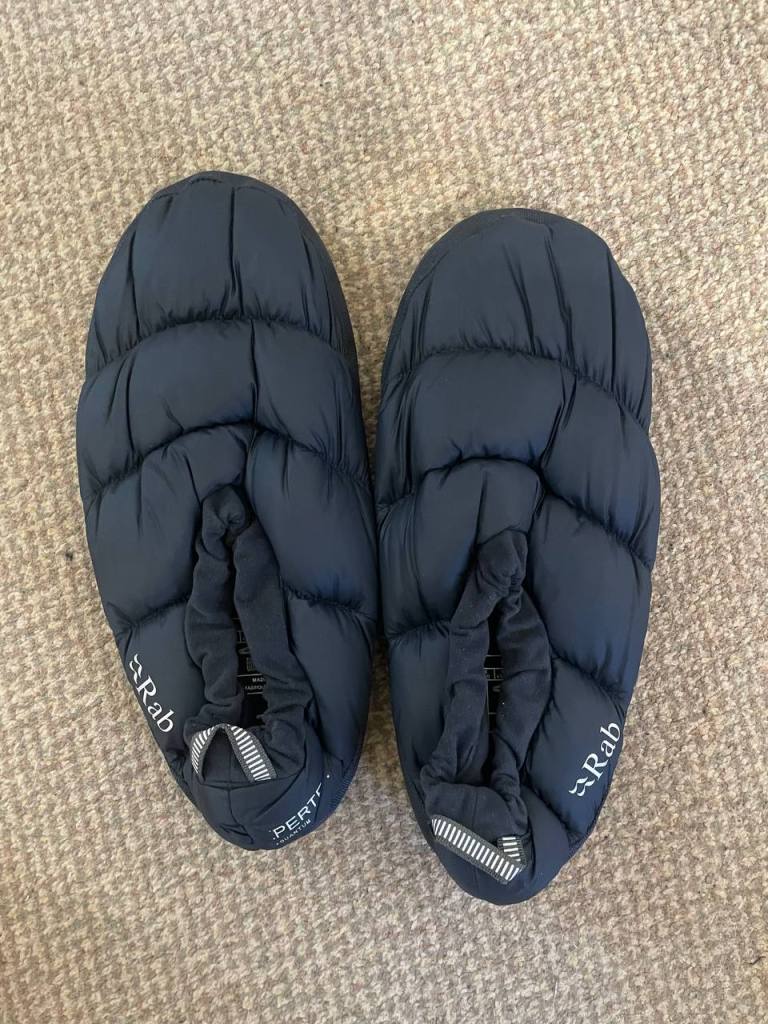
Camp Slippers
Luxury item, but ask yourself this: “Do you want cold feet at camp after a long day of hiking?”
Hiking Gear
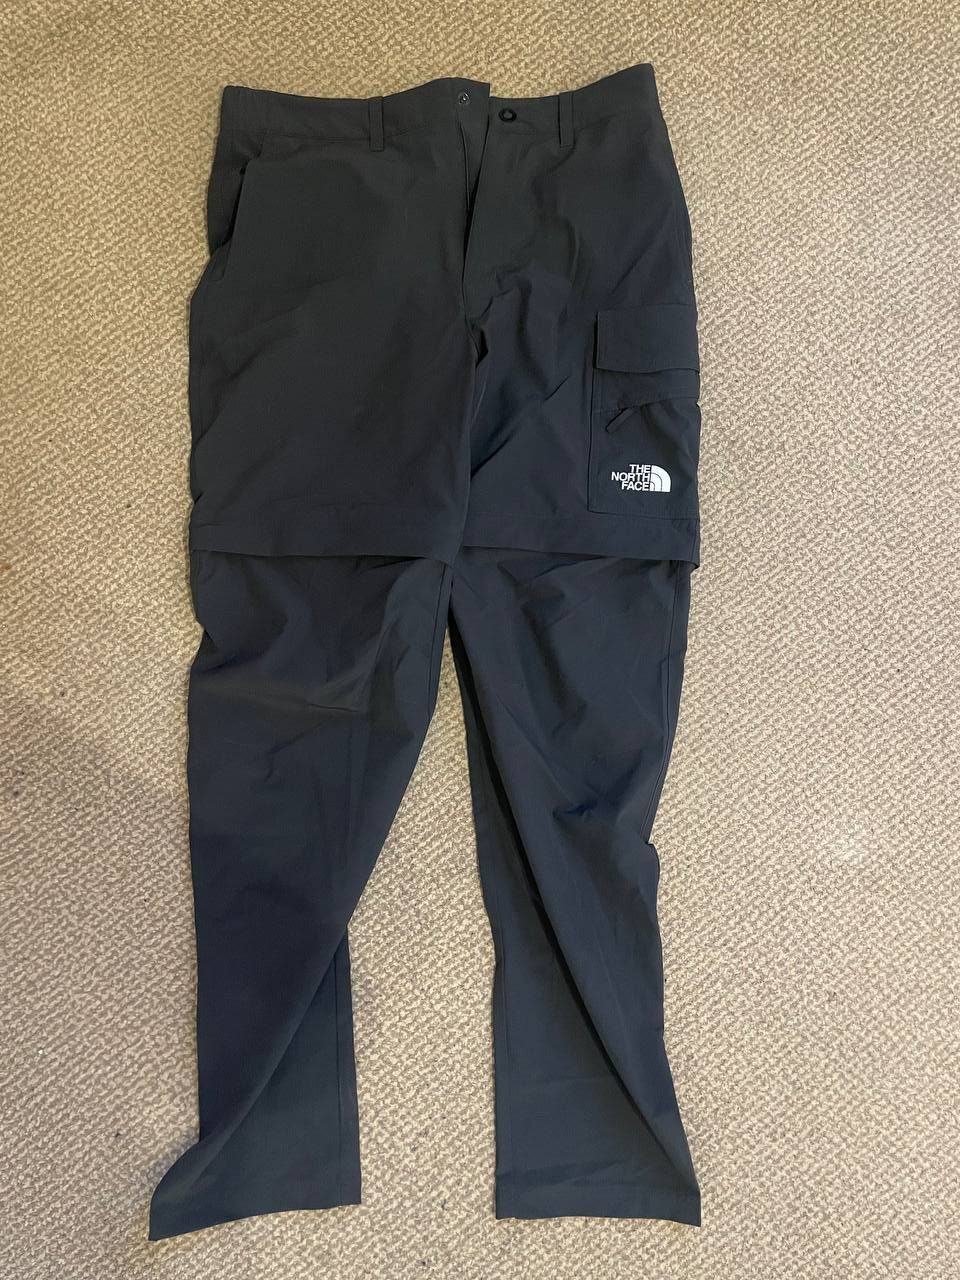
Zip-off trousers
A piece of gear that cost me quite a bit, but I decided it was a worthy investment as I see myself using it multiple times in the future: zip-off trousers. These are trousers with zippers at the knee, which allows you to convert them into shorts. I got these in case it got too hot during some of the days and I wanted to let my legs breathe a bit.
Safety and Emergency
Performant Power Bank
On the hike, I will barely have access to electricity (though as of writing I’m not even sure if there’ll be an opportunity to charge my devices!). This is why I decided to invest in a cold-temperature resistant power bank for emergencies only.

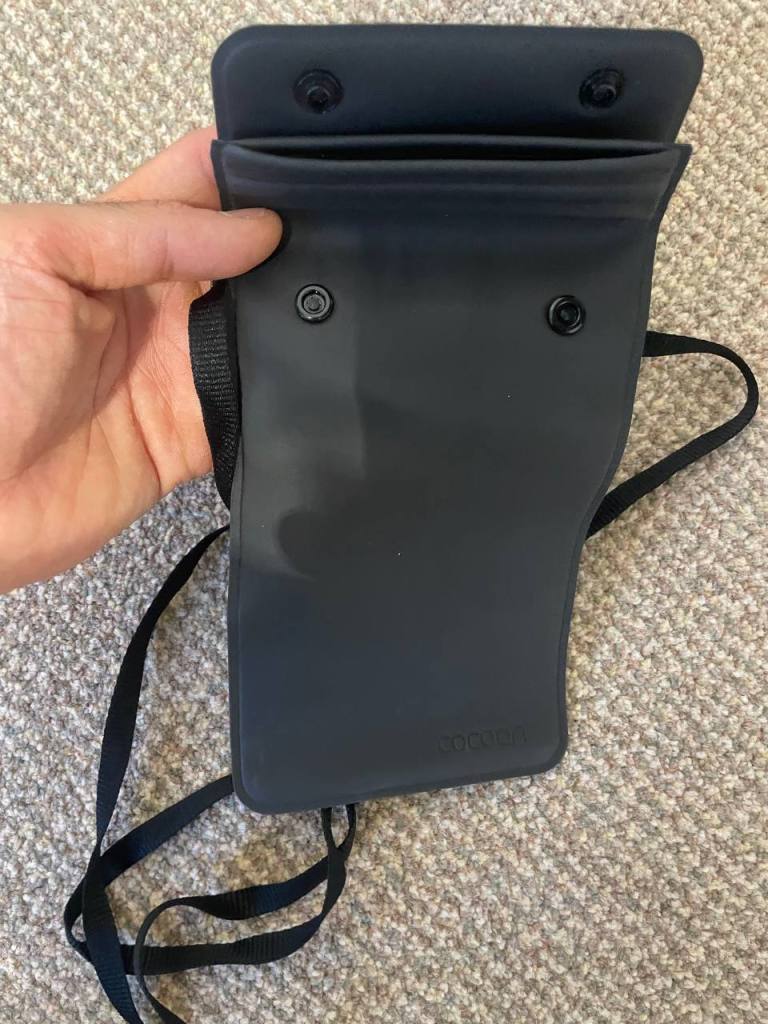
Waterproof Cover
Waterproofing your phone, wallet, passport and other essential items is a necessity in a downpour. However, I don’t think that a specific bag is in order as you can waterproof using other methods, such as layers of bin bags.
I’m only taking mine with as I had it from before.
Other
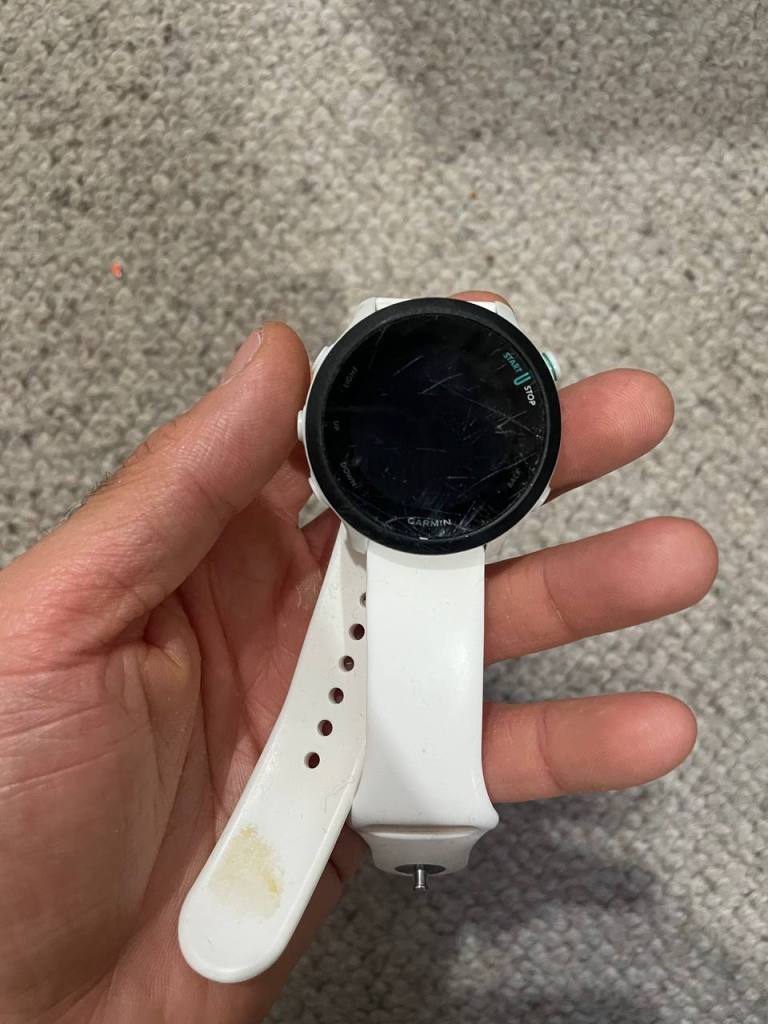
Garmin Watch
As they say, if it’s not on strava then it didn’t happen!
But jokes aside, a Garmin is a great piece of entertainment. You can map the places you’ve been and look at them later, and you can have fun tracking a few metrics about yourself.
I would have taken mine with me if it weren’t for its damaged battery.
GoPro and Camera Equipment
I’m no content creator, but it would be a shame not to attempt to capture the beauty of nature. This is why I decided to revive my brother’s 10 year old GoPro and take it with me on the trip. I don’t know how useful it will prove to be, but as it was practically free with a small weight penalty, what’s there to lose?
Breakdown of Costs
I plan to revisit the costs after the trip, so that, in the process of assessing the damage done to my wallet, I can provide you with a detailed breakdown of how much such a trip could cost.
In the meantime though, I thought it would be useful to detail the costs for the gear.
The table below shows the price paid per unit of item bought. Note that this is not necessarily the RRP price, as I tried to get most items on discount. Where the price is 0, this indicates that I had the item already.
| Item | Price Per Unit | Quantity | Cost |
| Sun Screen | 0 | 3 | 0 |
| Lip Balm | 4.25 | 1 | 4.25 |
| Sun Hoodie | 17.99 | 1 | 17.99 |
| Cap | 0 | 1 | 0 |
| Merino Socks | 13 | 3 | 39 |
| Merino top | 74.99 | 2 | 149.98 |
| Merino leggings | 106 | 2 | 212 |
| Trowel | 9.9 | 1 | 9.9 |
| Microfibre Towel | 7.99 | 2 | 15.98 |
| Soap | 5.1 | 1 | 5.1 |
| Down jacket | 199.99 | 1 | 199.99 |
| Beanie | 0 | 1 | 0 |
| Hardshell | 34 | 1 | 34 |
| Gloves | 13.99 | 1 | 13.99 |
| Water filter | 35.9 | 2 | 71.8 |
| Chlorine dioxide | 9.99 | 6 | 59.94 |
| Backpack | 0 | 1 | 0 |
| Hiking shoes | 0 | 1 | 0 |
| Walking sticks | 1 | 0 | |
| Over trousers | 0 | 1 | 0 |
| Insect repellant | 6.8 | 1 | 6.8 |
| Headlamp | 11.99 | 1 | 11.99 |
| Swiss-Army Knife | 0 | 1 | 0 |
| First Aid Kit | 1 | 0 | |
| Electrolytes | 1 | 0 | |
| Tent | 1 | 0 | |
| Sleeping Bag | 1 | 0 | |
| Sleeping Bag Liner | 41.99 | 1 | 41.99 |
| Sleeping Pad | 1 | 0 | |
| Pillow | 4.99 | 1 | 4.99 |
| Earplugs | 0 | 1 | 0 |
| Eye mask | 0 | 1 | 0 |
| Ski goggles | 80 | 1 | 80 |
| Travel toothbrush | 3.99 | 1 | 3.99 |
| Long spoon | 7.59 | 1 | 7.59 |
| Camp slippers | 46.99 | 1 | 46.99 |
| Zip off trousers | 90 | 1 | 90 |
| Power bank | 59.05 | 1 | 59.05 |
| Waterproof phone cover | 0 | 1 | 0 |
| Fitness watch | 0 | 1 | 0 |
| GoPro | 0 | 1 | 0 |
Based on the above, the necessary items cost me 899.69, and the luxury items 287.62, bringing the total cost of gear to 1187.31 pounds. The savings from discounted amounted to 105.88.
Goodbye… for now!
I will be off for the next couple of weeks hiking! Wish me luck as I attempt to conquer the mountains.
I have scheduled articles for the time that I am away though. Next week’s article is a must-read, so make sure to do that.
All the best! And see you very soon.
- You breathe much more frequently at altitude to get sufficient oxygen, so there is simply more moisture that you exhale in total. Further, because the air is dryer, the rate of evaporation is higher (both from exhaling and from sweat). There is also more fluid loss due to more frequent urination. ↩︎
- It is a massive misconception that there is “less” oxygen at higher altitudes. The oxygen level in the air is the same, however, less oxygen gets into your bloodstream because of the lower air pressure. This is because the mechanism that allows oxygen to get into your blood is diffusion: the pressure of oxygen in your blood is lower than the pressure of oxygen in the air, so in the process of the pressures reaching an equilibrium, oxygen moves into your blood. If the oxygen pressure is lower, then the difference in pressure with the oxygen in your blood is lower, so less oxygen moves into your blood. ↩︎
- Remember that aerobic fitness doesn’t increase the amount of oxygen that you can absorb. However, if you are fit, you are less likely to get exhausted. When your muscles are exhausted, they require more oxygen, so you can see how it can cause issues in an oxygen poor environment. Further, exhaustion will disrupt your already disrupted sleep further, making it harder to recover for the next day. Delving into the exact mechanisms ↩︎
- Fill Power rating: a measure indicating how much warmth down jackets give you ↩︎
- Note: at high altitude water boils at lower temperatures, so you need to keep it boiling for some time to be confident that it is safe to drink ↩︎
- I am mildly concerned about this, as the by products of the reaction could cause a reaction due to my allergies… however I have some strategies to alleviate this. ↩︎

Leave a reply to Hiking Gear Evaluation Post Huayhuash – Tsunami's Hungry Cancel reply