For some time now I’ve been trying to cultivate my own sourdough starter… I was able to successfully bake sourdough bread for the first time yesterday!
Here is a log of my experience1.
The starter
Some science
A lot of the recipes I found online use dried fruit to kickstart the fermentation process, and most of the starters are based on wheat flour. For my first attempt I decided to learn from the best, so I started cultivating a rye starters based on instructions and notes I got from attending a baking class at the e5 Bakehouse.
In a nutshell the process is as follows:
- Mix equal amounts of organic wholemeal rye flour and water
- Cover and leave in a warm place for 24 hours
- Discard around 80% of the mixture, then repeat the process above
The science behind how this process creates a starter that allows you to cook bread is simple: wild yeast and bacteria live on all the surfaces around us, including on the grains that the flour comes from. The flour provides sugars that the organisms feed on: the yeast will produce carbon dioxide (which causes the bread to rice) and alcohol2, whereas the bacteria produces lactic acid (which gives it that sour taste). In theory, you should be able to make a sourdough starter without any flour. If you’re a regular reader of this blog you’ll know that I’ve been on a journey trying to re-create traditional south Iranian dishes from the city of Evaz. One of the classic evazi breads is Gapok, which was traditionally made from aquafaba. As I understand, this acts as a sourdough3!
The water on the other hand, is necessary for cultivating a starter. It is necessary for the bacteria to grow, and the temperature helps speed up the fermentation process of the yeast. The challenge with making sourdough in colder climates is that the temperature of the room affects the fermentation process massively, so water temperature become the main way of controlling the environment. My notes said to use around 30 degrees celsius, although I think this was too low for the environment I was cultivating my sourdough in… but more on that later!
What’s fascinating about sourdough is that it is really personal. This was joked about briefly in the baking course: “add your own bacteria to the starter by kneading it”, but a study conducted on the bacterial composition on sourdough starters indicated that the bacteria from different bakers’ hands can have “discernible differences in the final flavor of the bread”. If we take that claim as fact, then we can draw a bittersweet conclusion:
- No matter how perfectly you recreate the conditions and ingredients to bake a sourdough from your favorite bakehouse: you’ll never get it to be the same
- But… the bread that you make can’t be recreated by anyone else. It is personal to you, which to me is more incentive to learn how to make sourdough.
My first attempt
One thing I learnt from this experience is that I’m not ready to be a father. For my first attempt at cultivating the starter, I kept forgetting to feed the starter so it started turning pink and smelling like acetone. I was reassured by colleagues you’ve worked with sourdough before that this is just the smell of the alcohol, but I wasn’t convinced. After some reading online I decided to feed it with more flour relative to the water content, but this caused it to completely dry up and smell like raw flour and slightly like an attic. I gave up at this point and decided to start again.
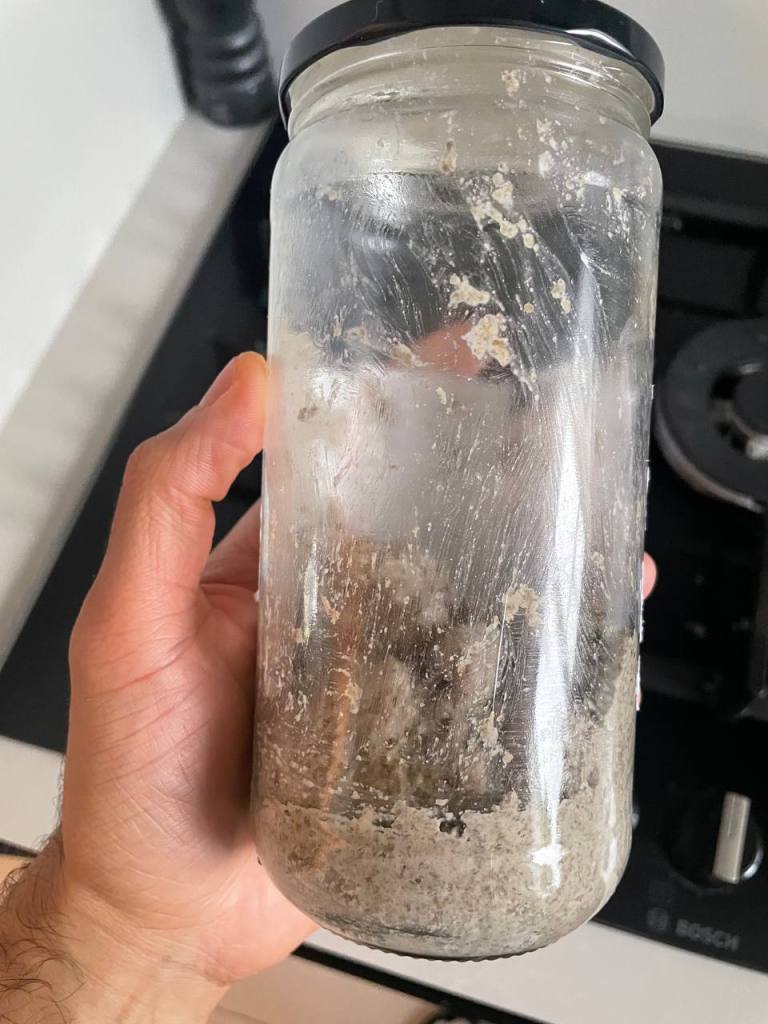
In the third photo above you can see a slight change of color to pink.
Getting better
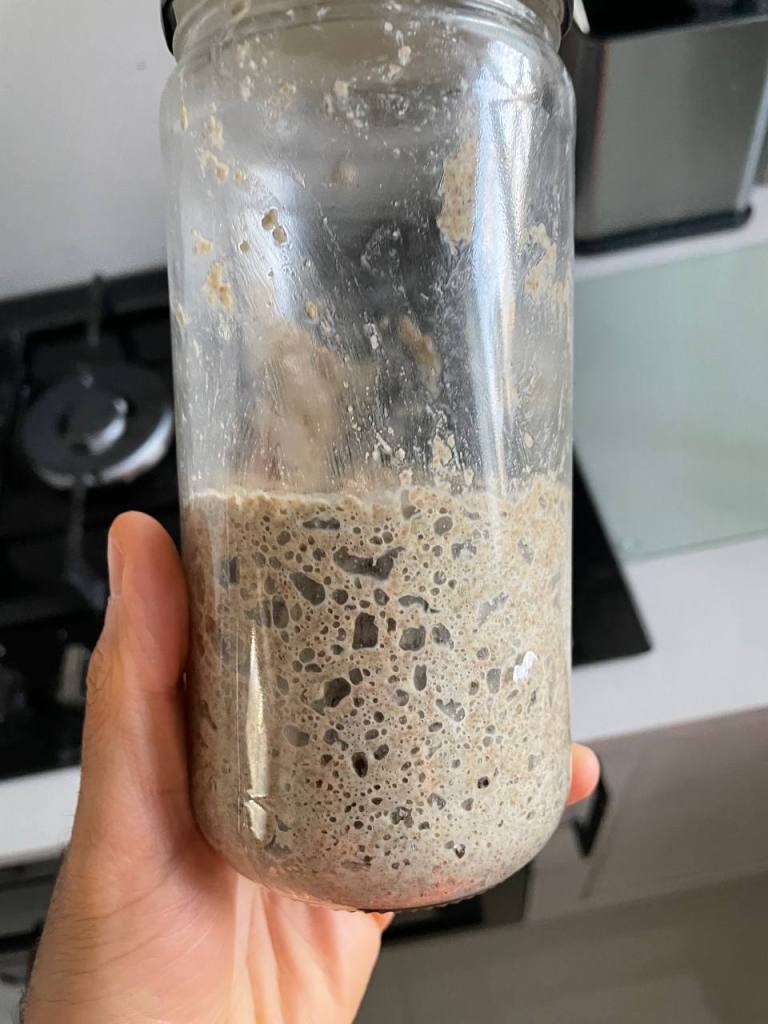
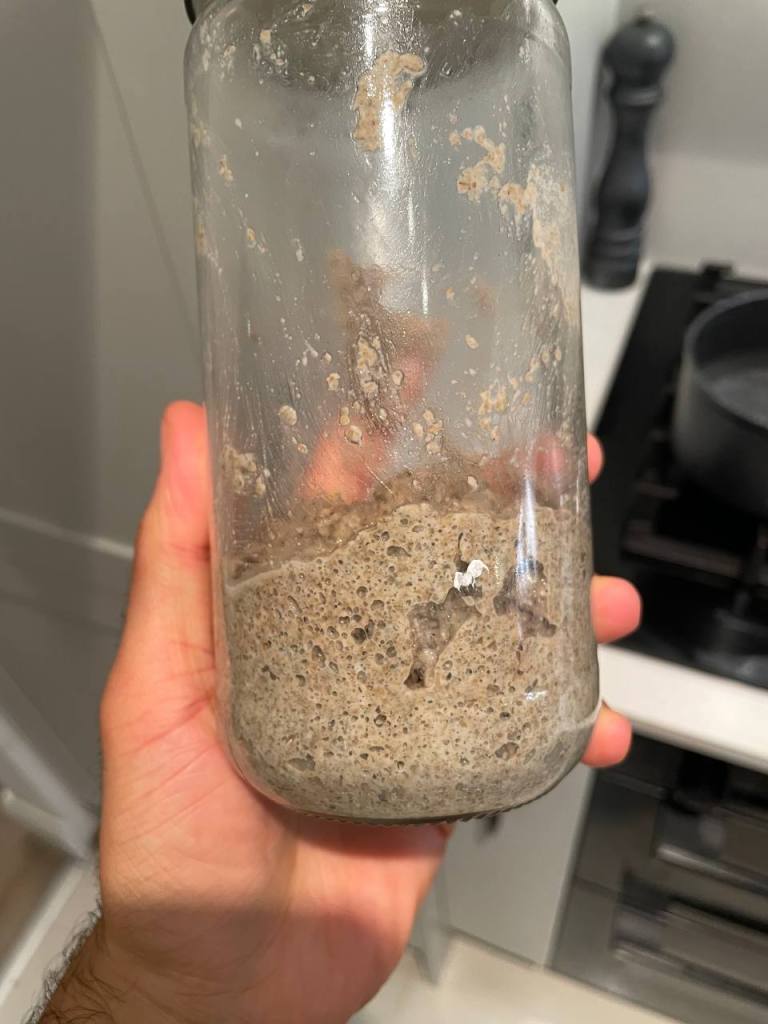
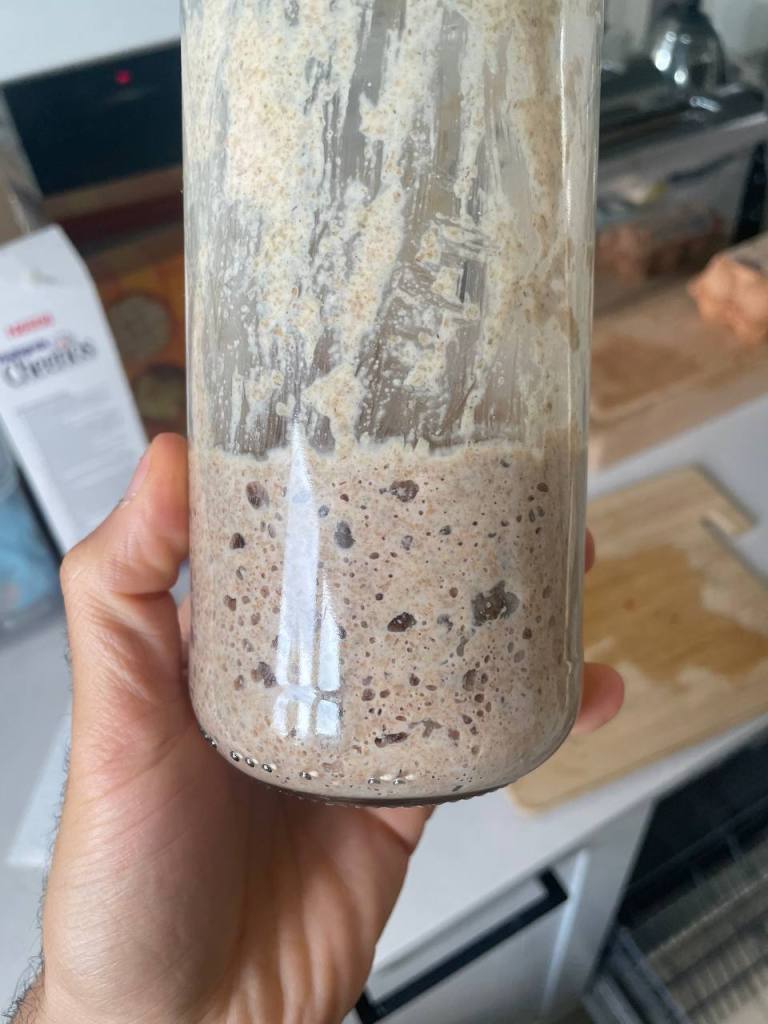
For my second attempt I didn’t change anything except for trying to feed it regularly. At some point it started to turn pink again, but it didn’t have such a strong acetone smell so I went on with it. I got to a point where I got tried of the process and decided to just bake bread: worst case I’ll get some stomach ache if the starter is rotten. Below is what it looked like before I used it for baking.
Baking
The e5 Bakehouse recommends feeding the starter 8-12 hours before preparing the dough. Then they make what is known as a leaven, which as I understand is basically the state you want your starter to be at so that it is comparable to dry yeast.
To make it, you take some of the starter, and add an equal amount of flour and water. This to me is exactly the same as feeding the starter, but I noticed that they use extra amounts of flour and water for this step.
This is when I started to notice something was wrong, because after about 10 hours it had not changed in volume at all, when I was expecting it to almost double. Further, I had forgotten that the dough itself needed to prove, and it was around 12 am. I didn’t want to leave it to prove overnight since the recipe called for 5-6 hours only. I therefore decided to let it prove in the fridge for a longer period, e.g. 24-48 hours.
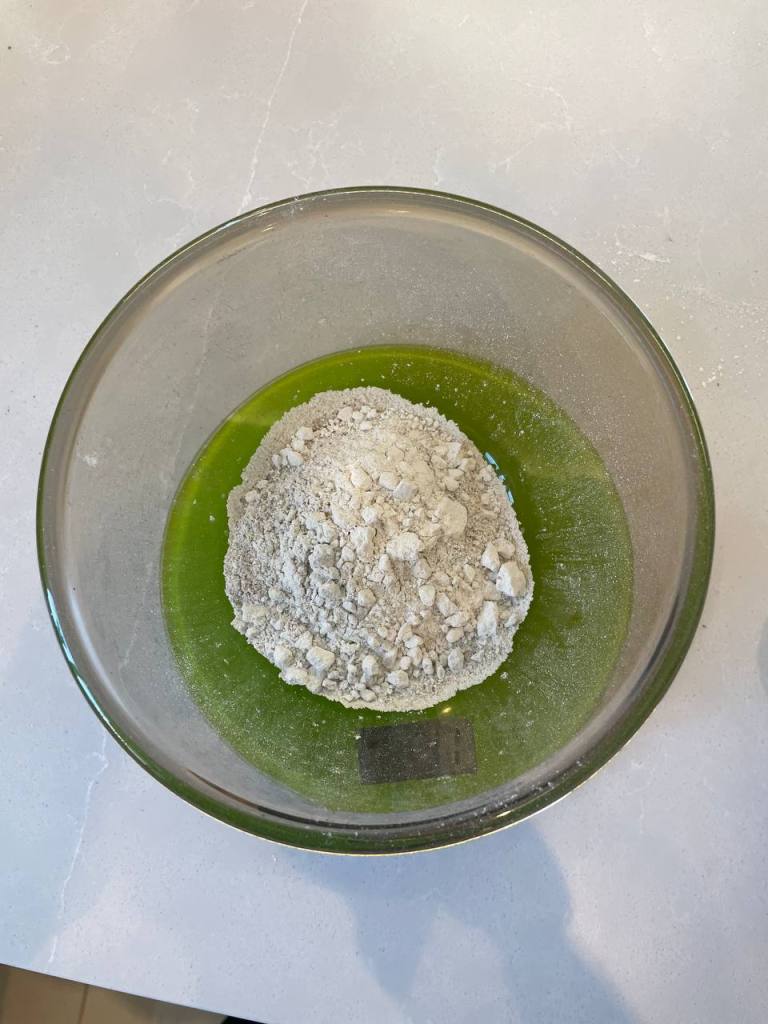
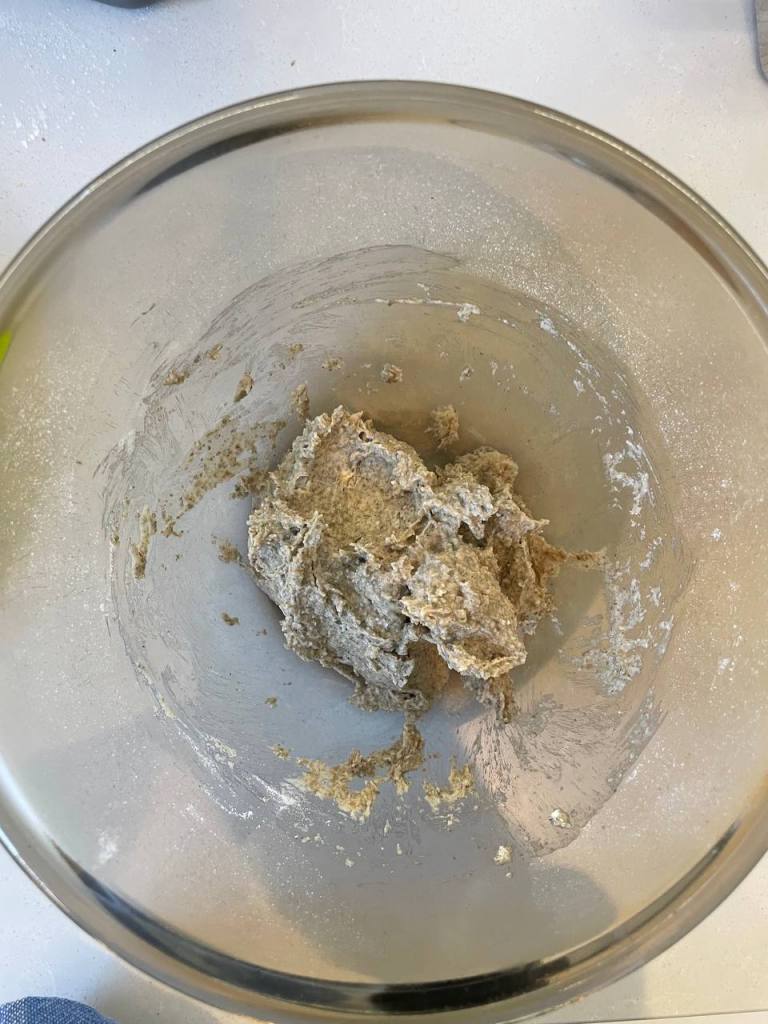
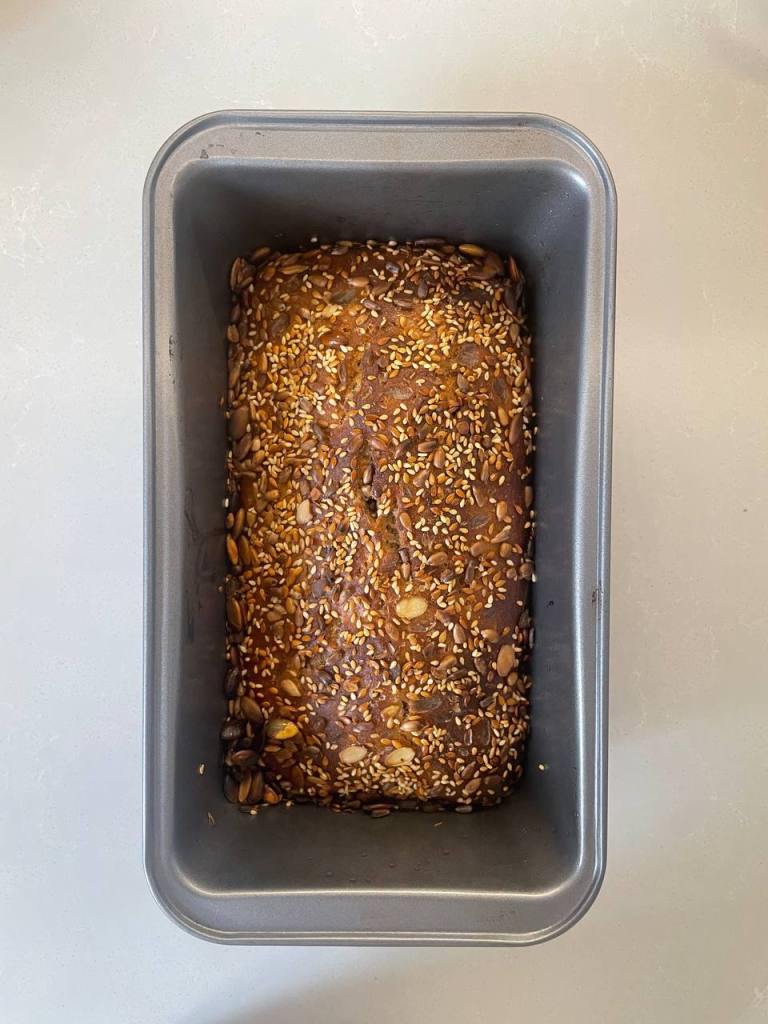
I didn’t take photos of this stage, but I added light rye flour, water and salt to the leaven and kept mixing until it was homogenous. I then greased a baking tin, and with wet hands transferred the dough into the it. This was so messy and I’m not sure why the instructions make it sound so easy. It was so sticky and definitely not resembling a ball like I’m used to. It just slid into the container disappointingly.
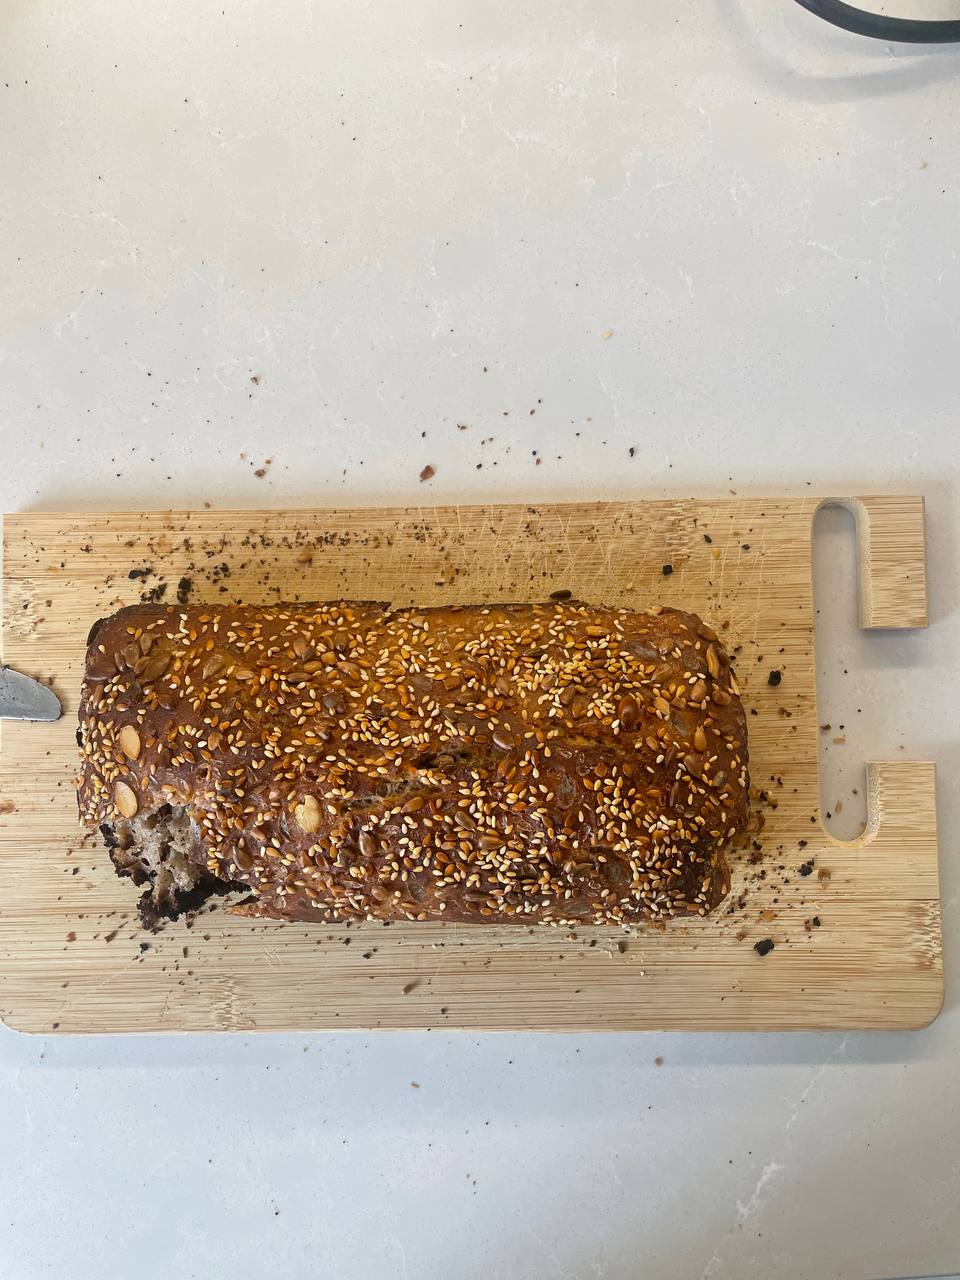
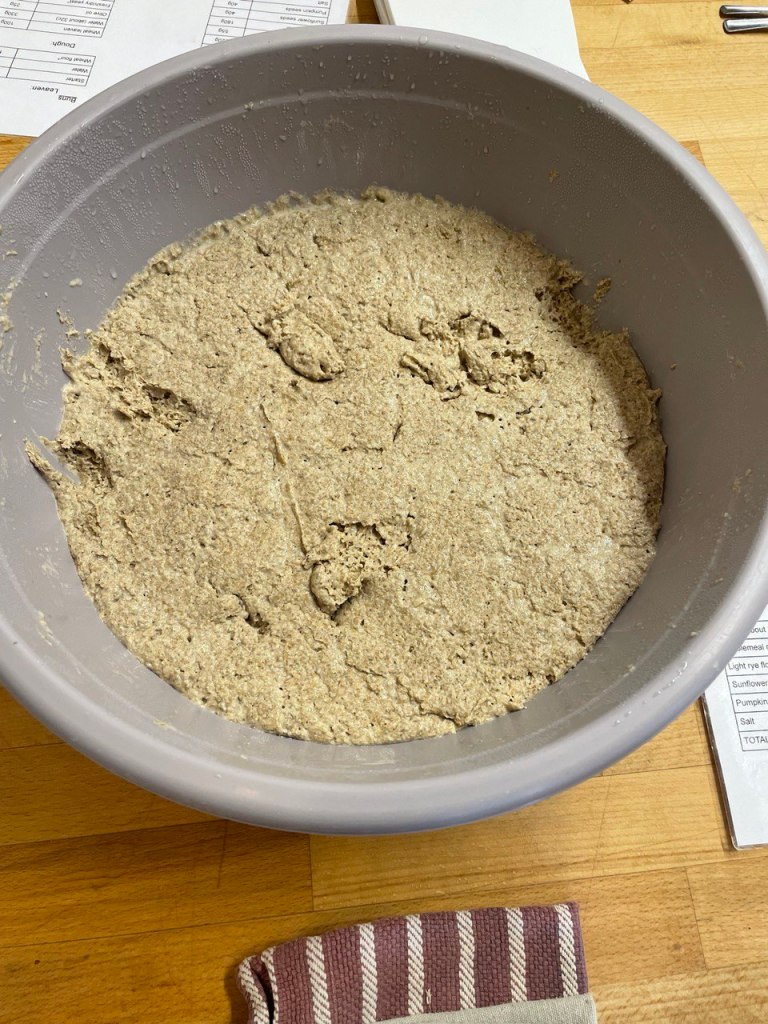
I then garnished with some mixed seeds, and let it prove in the fridge.
Prior to baking, I took it out and was devastated. It had not risen at all. I cheated a bit by leaving it for some 40 minutes in the oven at a temperature for 50 degrees to let it quickly proof. This help it expand into the container, but not rise much.
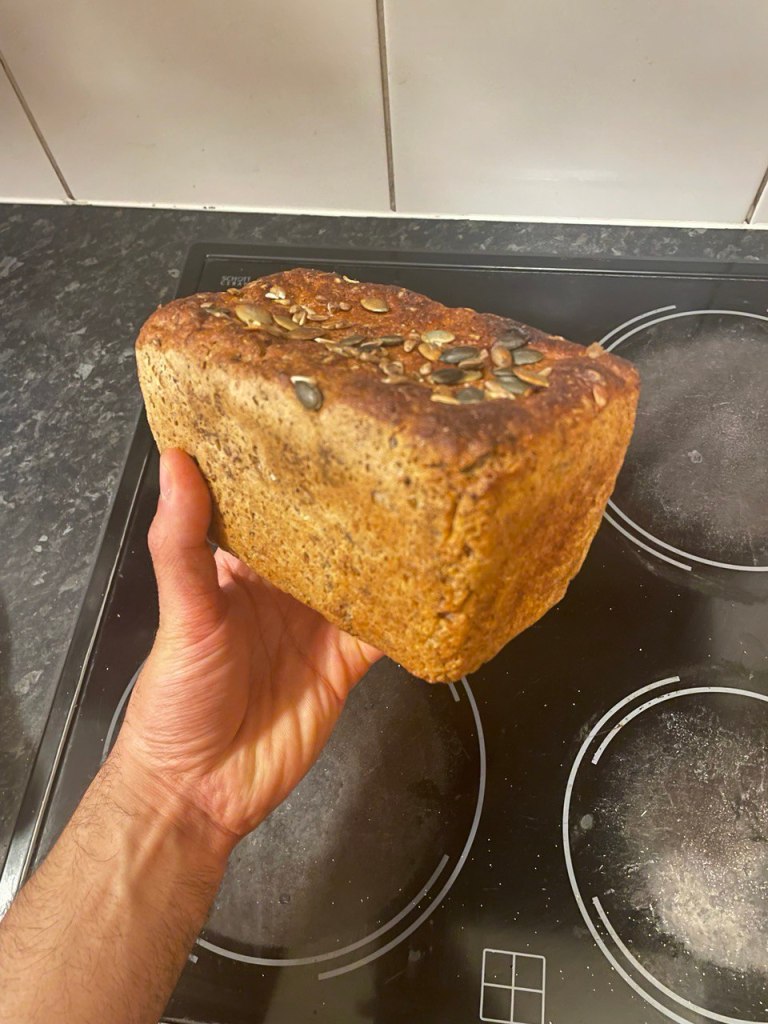
I then baked it at 250 degrees celsius, but this is where I made a mistake. The instructions ideally called for placing the baking tin into like a dutch oven, and baking it in there. Absent one, they recommended adding some water to the tray to help with the formation of the crust. I forgot this step, and my bread ended up burning slightly4.
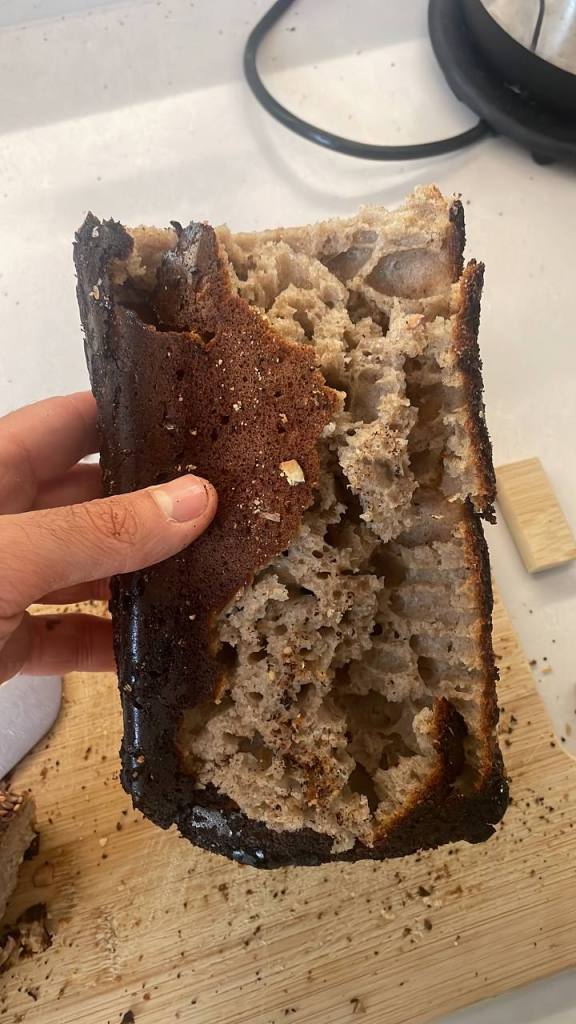
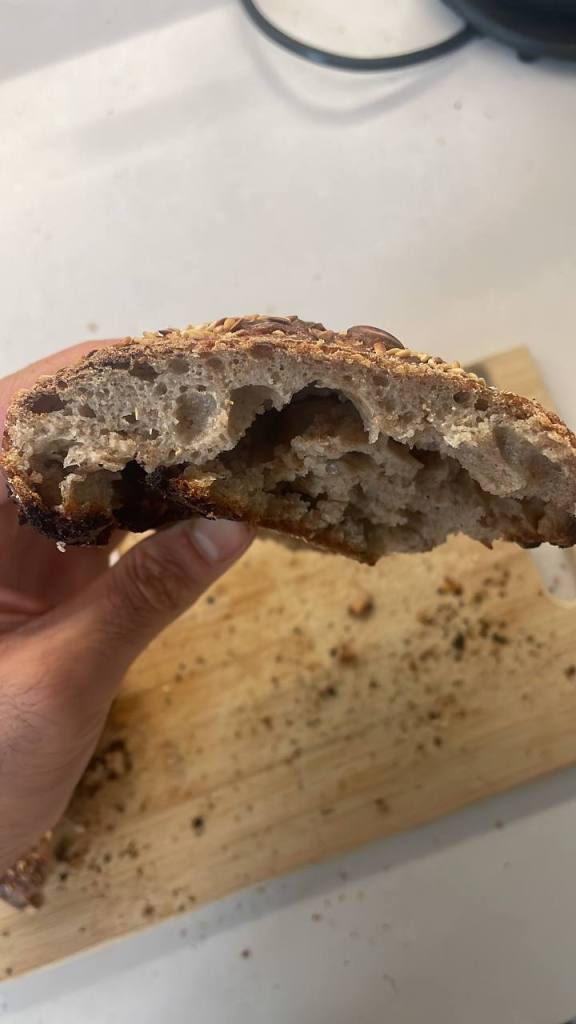
Despite the fact that it didn’t rise, I thought that I got fairly decent air bubbles. The flavor of the dough was excellent too: it wasn’t as firm as some of the rye breads I’ve had at bakeries (like Gail’s) and it had a nice subtle sour flavor. I really enjoyed spreading some coconut oil on this and drizzling with honey… love at first bite!
Concluding Remarks
I’m happy with the outcome of this experiment. Having understood the science a bit more, I think that the issue I’m facing is the lack of a warm place to keep my dough to ferment, so I must either let it ferment for longer, or use much warmer water when feeding it. I’ll note that the temperatures recommended by the instructions are likely suitable for the environment in a bakehouse, which is typically much hotter even during winter.
What I’m unsure about is what temperature I should the dough at. I recall the bakehouse having industrial ovens that they’d set to a steam setting at very high temperatures. Perhaps next time I’ll try with a slightly lower temperature.
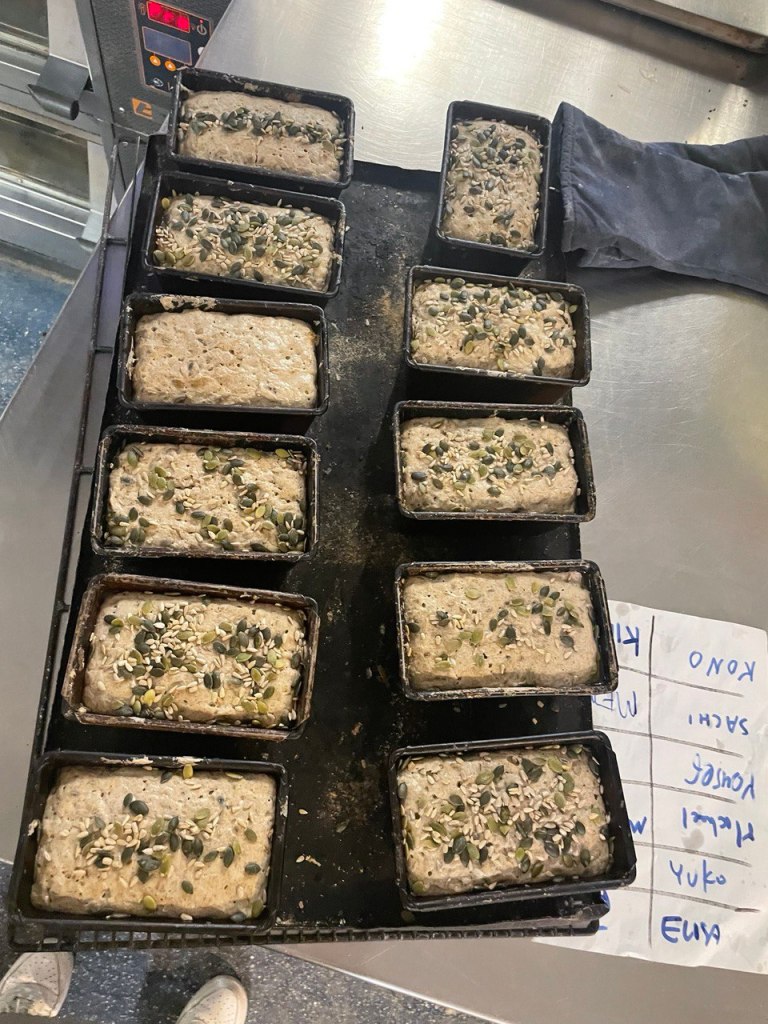
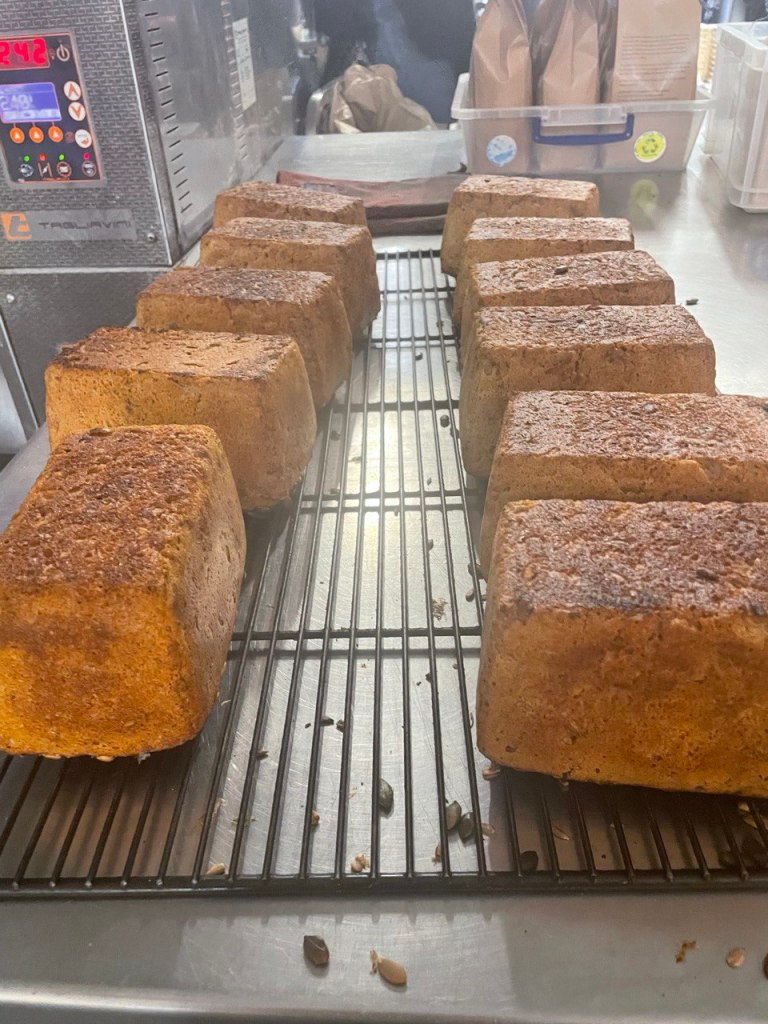
I also wanted to share a few photos I took from the bakehouse, specifically of the rye loaves. There still a lot of improvement to be made!
- Not confident enough to make this a recipe/tutorial just yet… ↩︎
- If you’re wondering why bread doesn’t turn into alcohol, as far as I understand it’s because of the availability of sugar in the mixture, and also the time we allow it to ferment for. ↩︎
- This tradition seems to have died, as no one from my parents’ generation knows how to make it anymore… which is why I need to bring it back and preserve it!
↩︎ - In fairness, it wasn’t just the crust that burnt. The bottom of the dough was horribly burnt too. ↩︎

Leave a reply to Sourdough Experiment # 2 – Sky is the limit – Tsunami's Hungry Cancel reply