One of my favorite desserts growing up was my aunt’s cheesecake. Every bite packed a punch: a perfectly soft and sweet cheesecake layer, on top of a fragrant and flavorful crumble, topped with a beautiful caramel layer that transforms the dessert from something homemade into something regal.
I learnt how to make it directly from my aunt, and this is my attempt at it.
Ingredients
Below are the original ingredients used by my aunt, and substitutes that I used since I couldn’t find many of the original ingredients.
- 280 g Philadelphia original
- 40 g butter
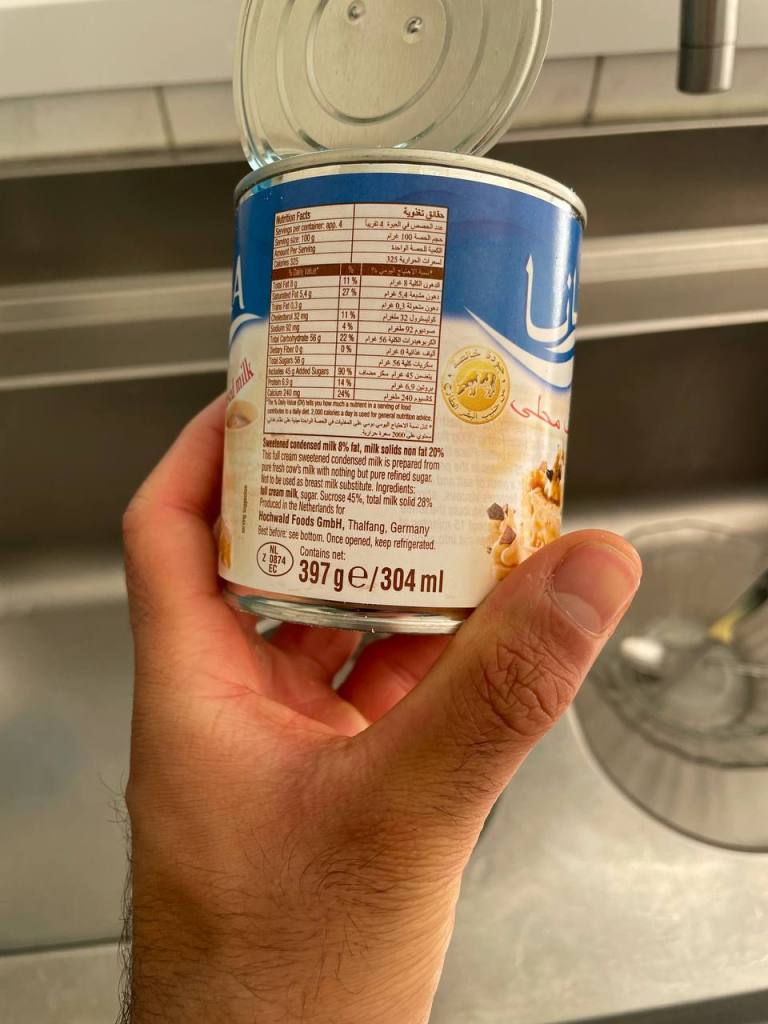
- Mana condensed milk can (397 g) (I used a can of Nestlé Carnation condensed milk, also 397 g)
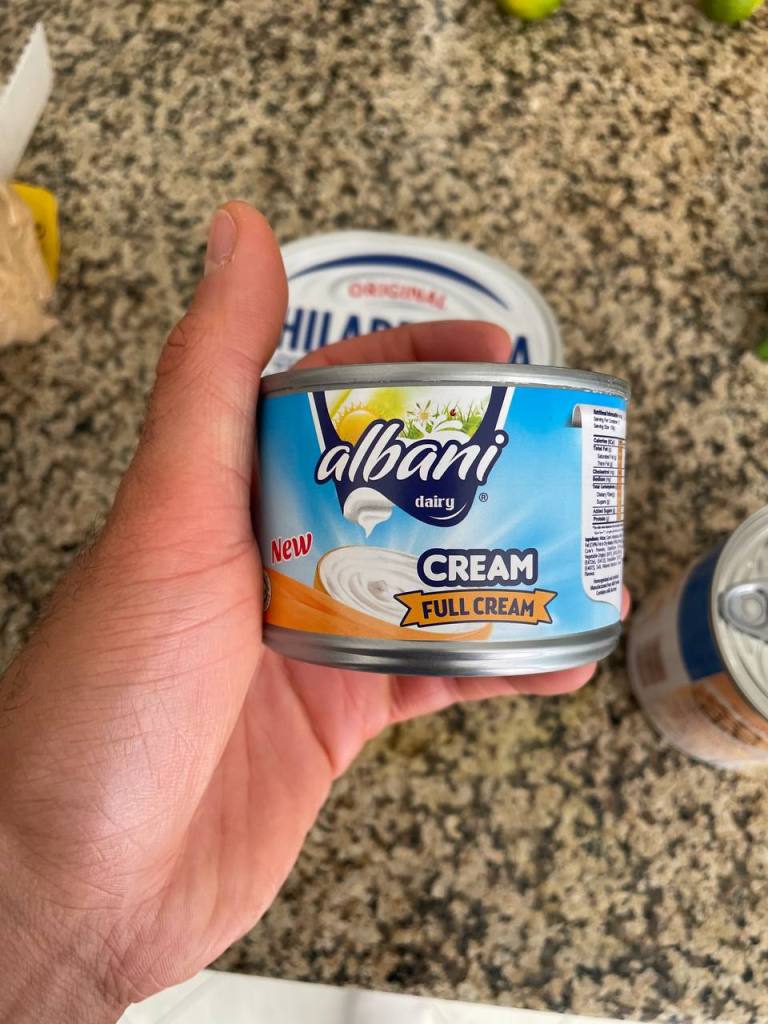
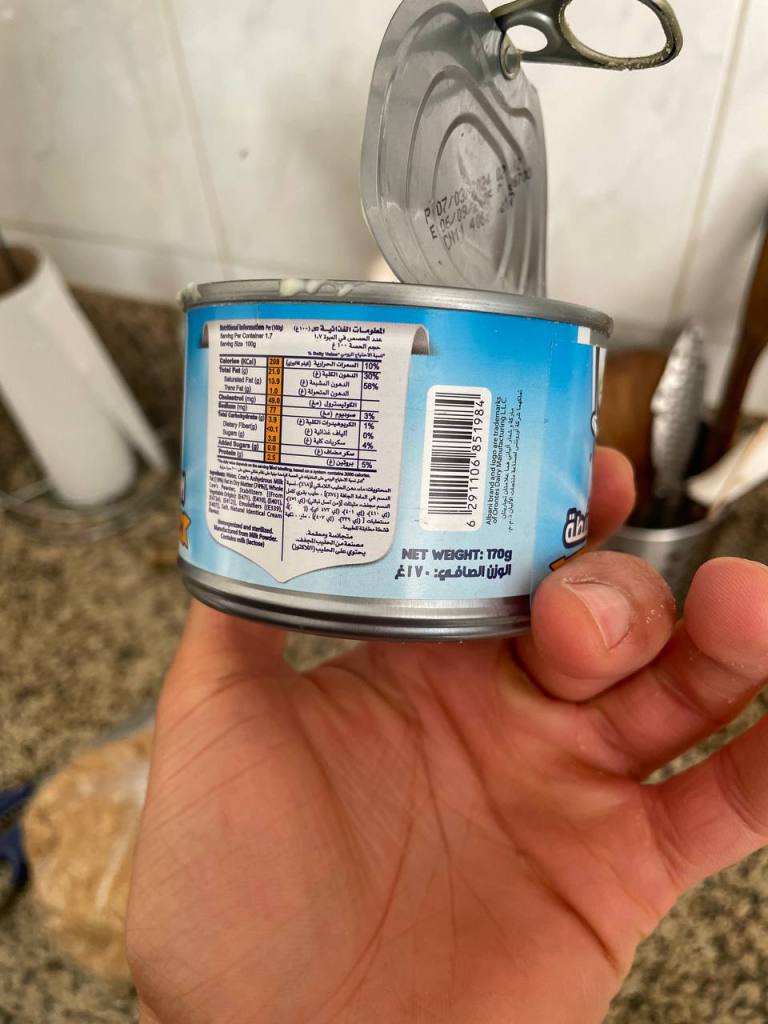
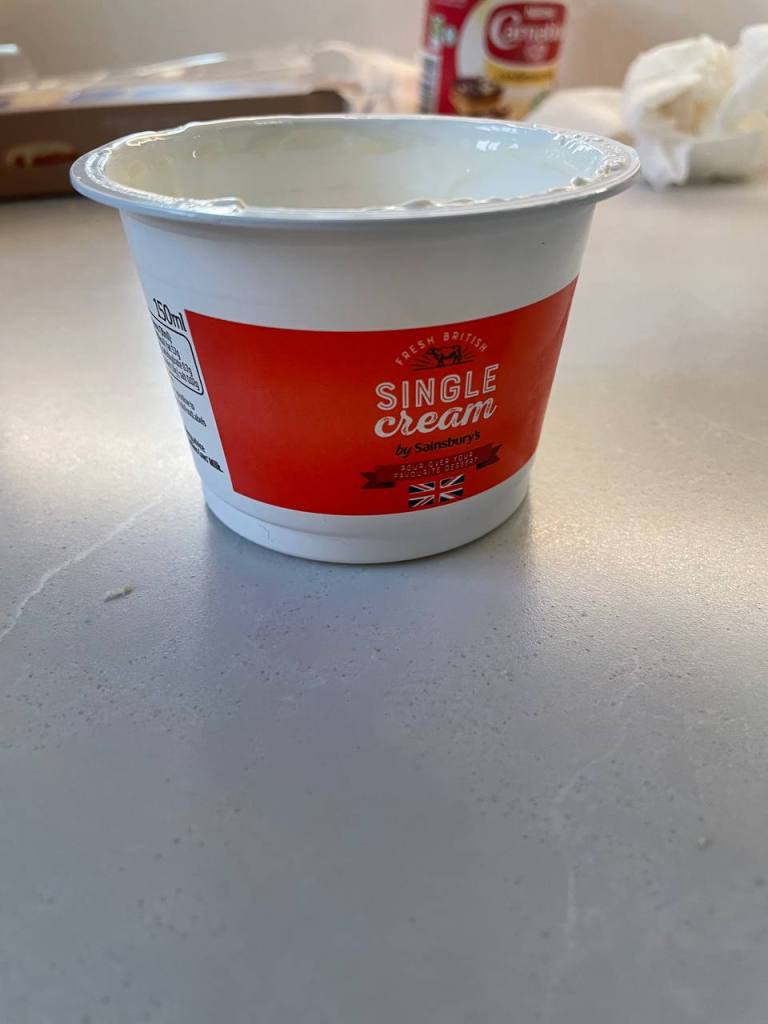
- Albani full cream can (170 g) (I used a packet of fresh single cream. Note that by weight, this only measured to be 140 g)
- 200 g Leibnitz Butterkeks (I used an equivalent by the same parent company made in the UK)
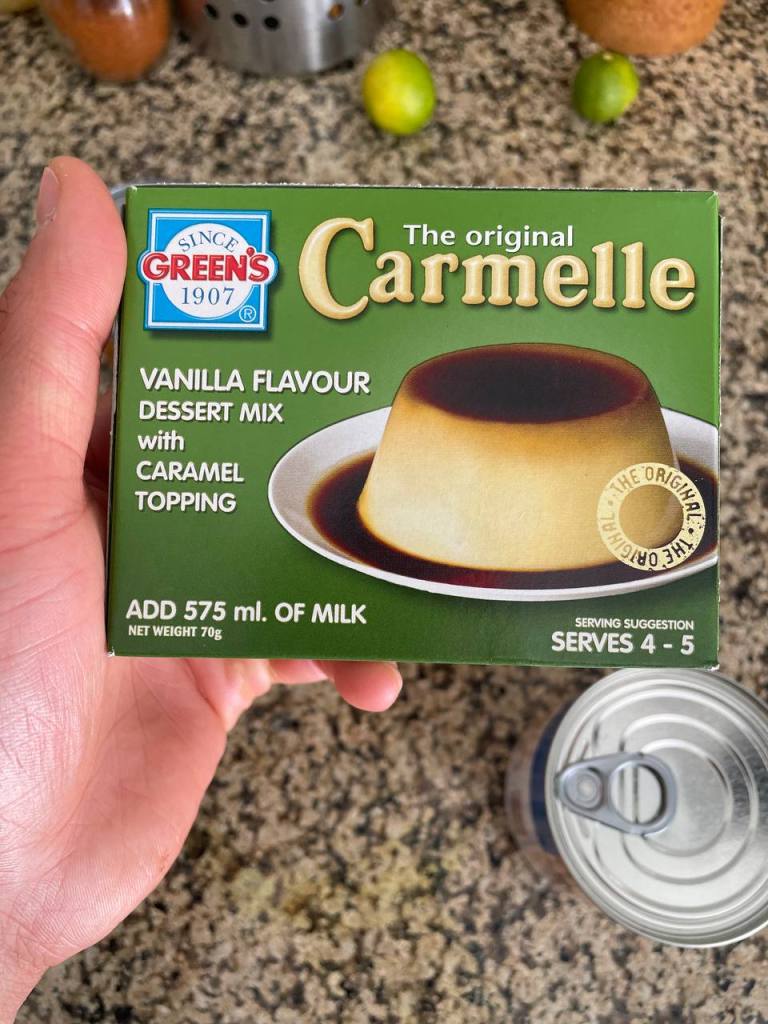
- Milk sachet of Green’s original Carmelle (I used the Green’s Carmelle, but one produced for the UK)
- 2 tsp Nesquick powder (I used pure cocoa powder instead)


Preparation
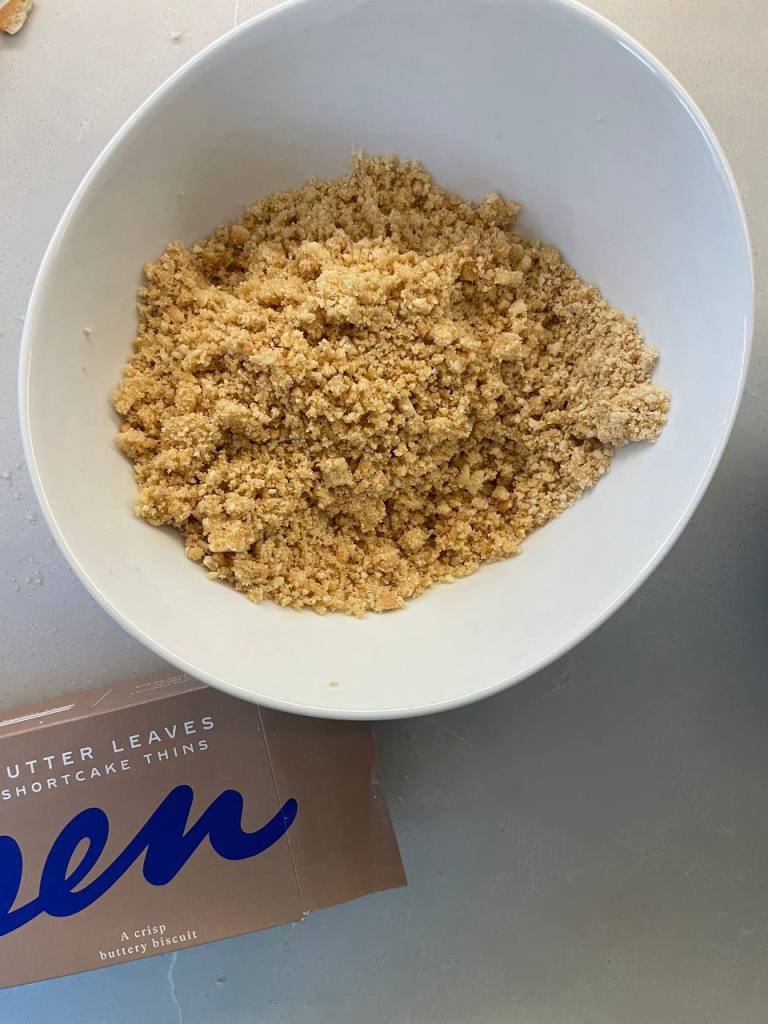
First, crush the biscuits. You want them to be as fine as possible, such that you don’t have lumps. For this it helps to use a food processor. In my case I only had access to a mortar and pestle, so you can see that at some point I got tired (hence the lumps).
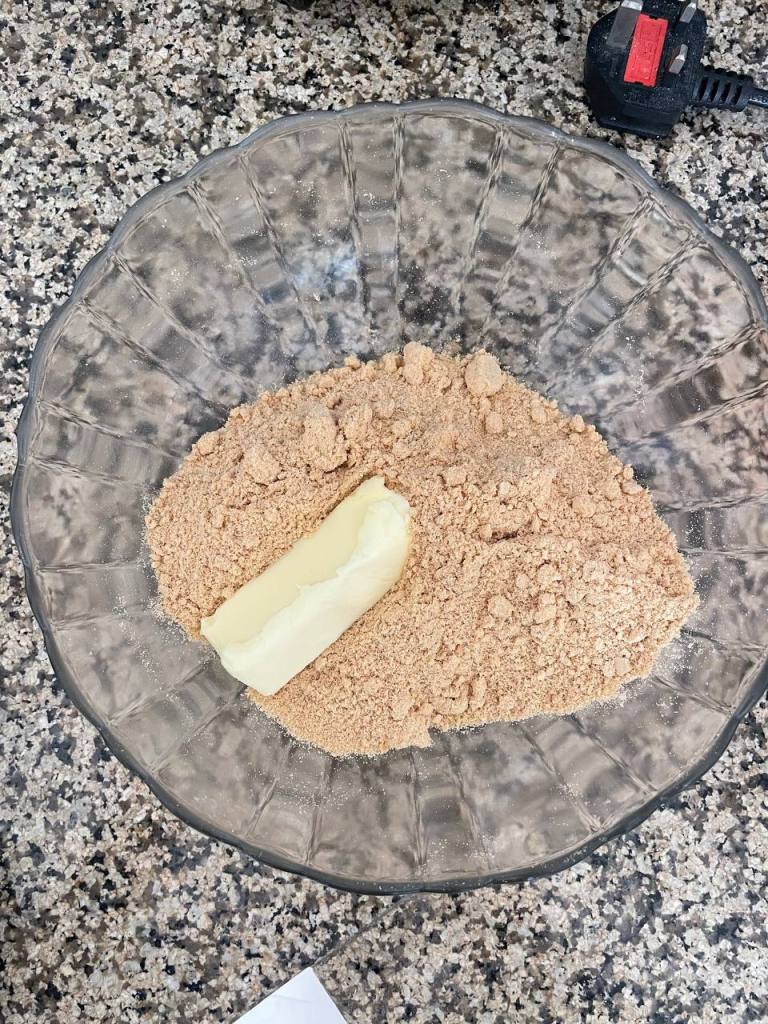
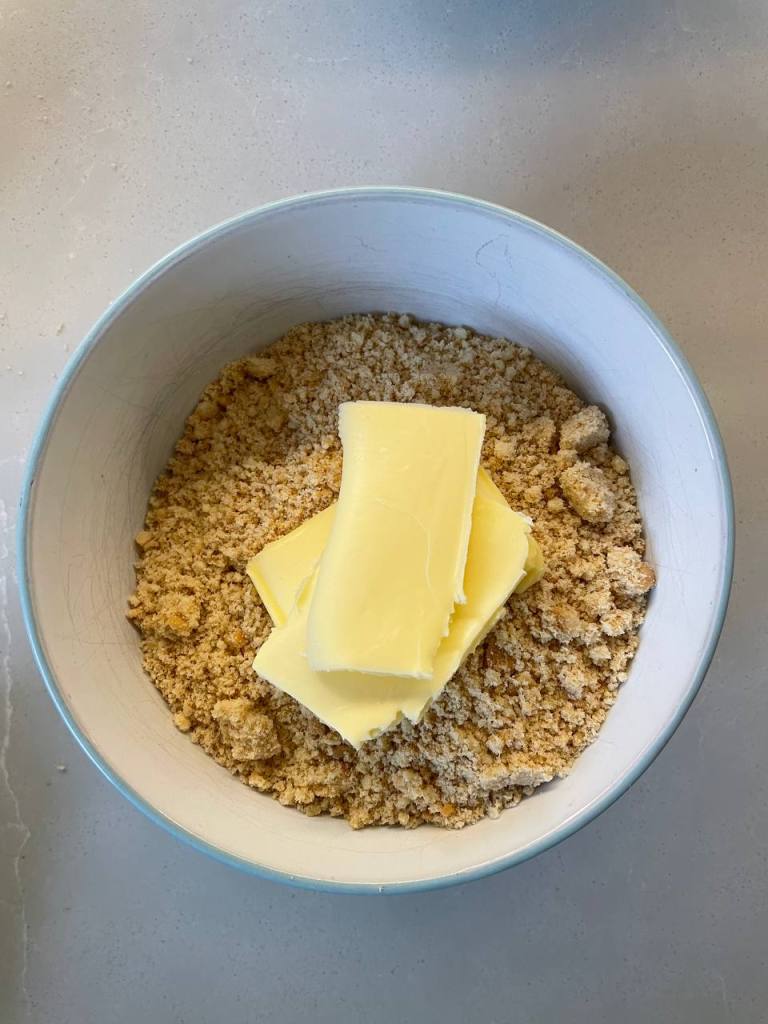
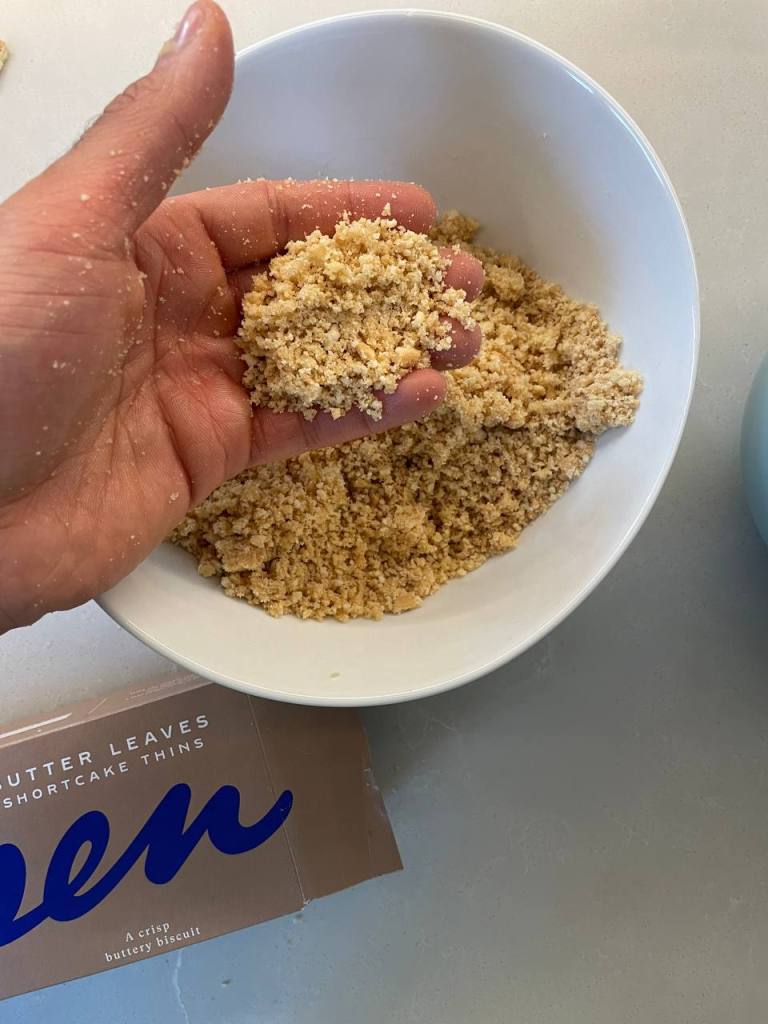
Then, add around 40 grams of butter, and mix it into the crumbled biscuit until it is fully absorbed.
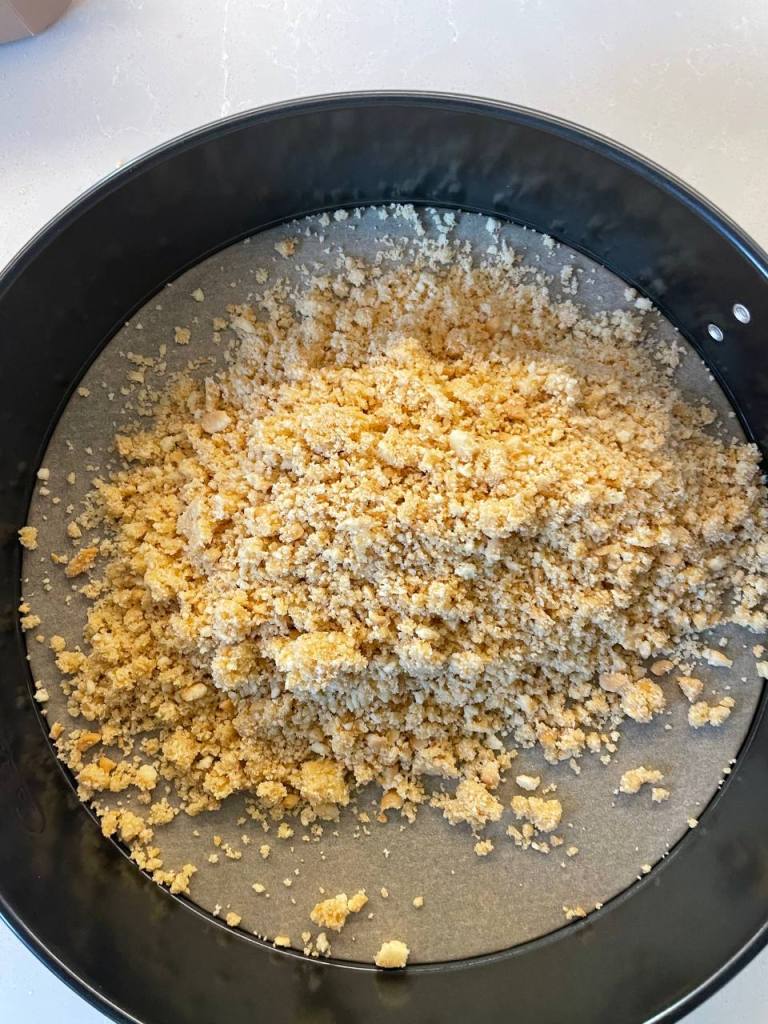
You can now add this to your baking tin. In theory any baking tin works, but if you want really good presentation an a smooth base, my recommendation is to get one of the round baking tins whose base separates easily. That way you can line the bottom with baking paper, making sure that it is smooth before filling it with the crumble.
Add the crumble to the bottom, then smoothen it out as much as you can. My aunt first uses here hands to spread the crumble around the base, and then smoothens it with a spoon.
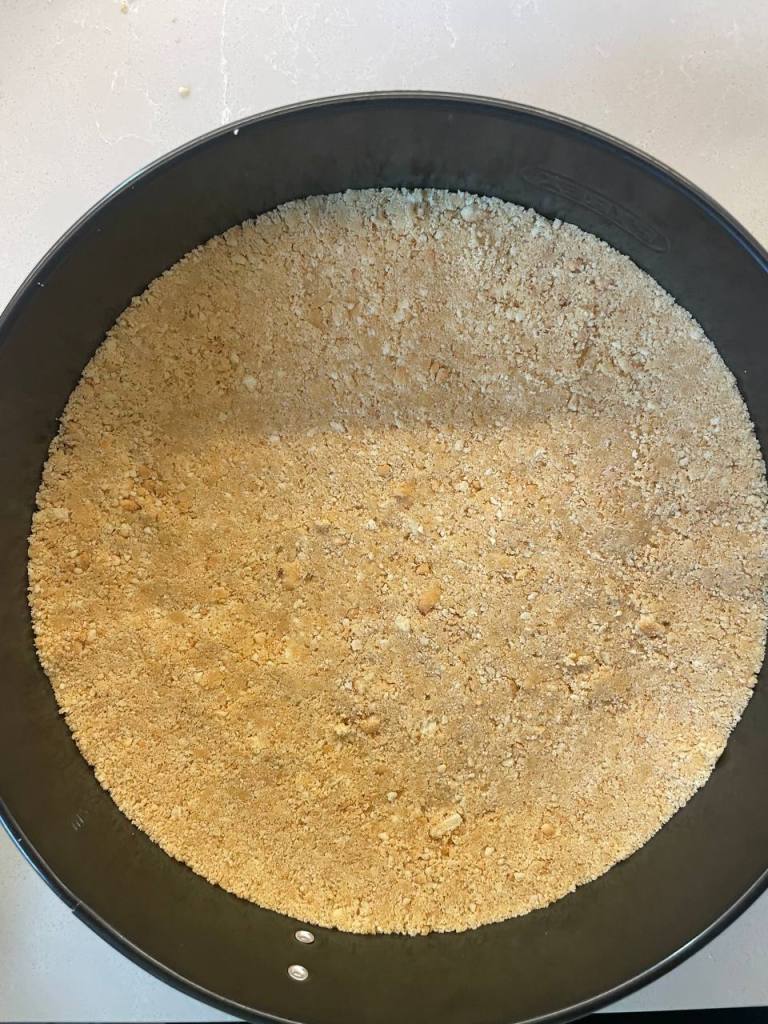
At this stage, place it into the fridge for around 20 minutes so that it sets.
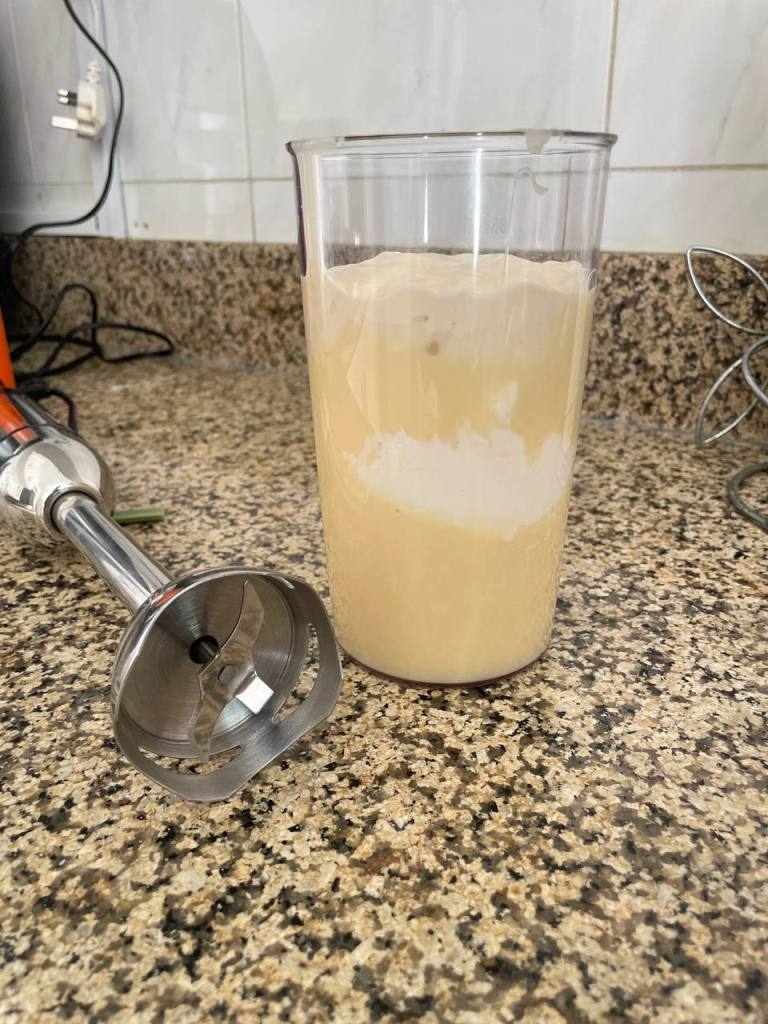
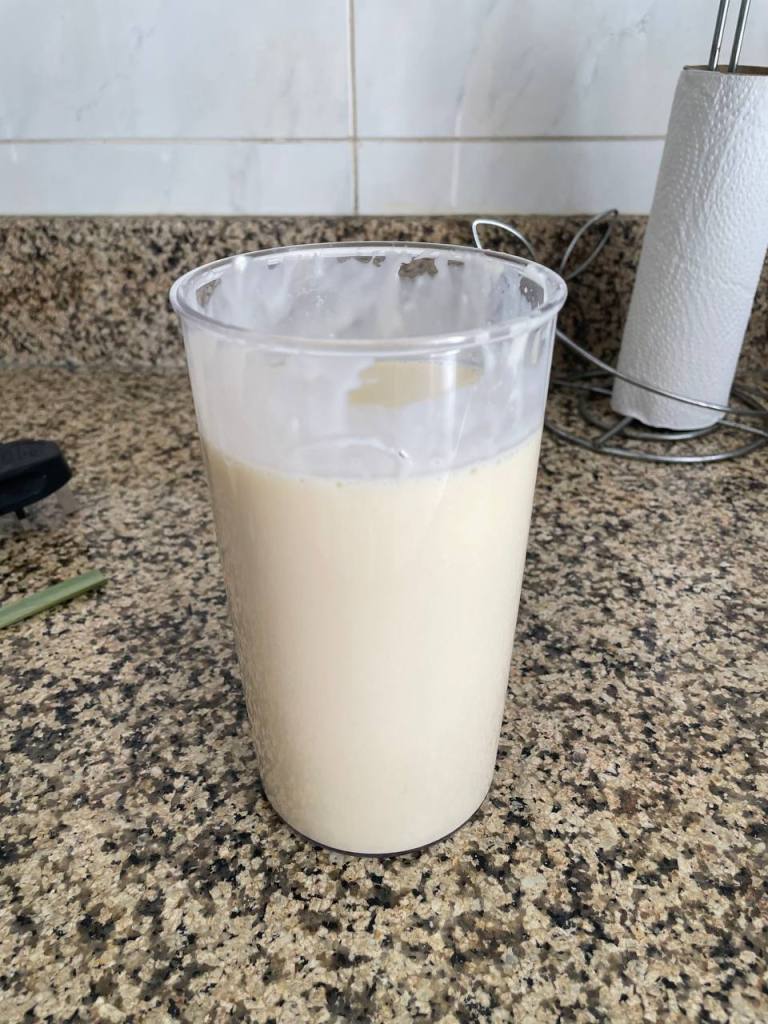
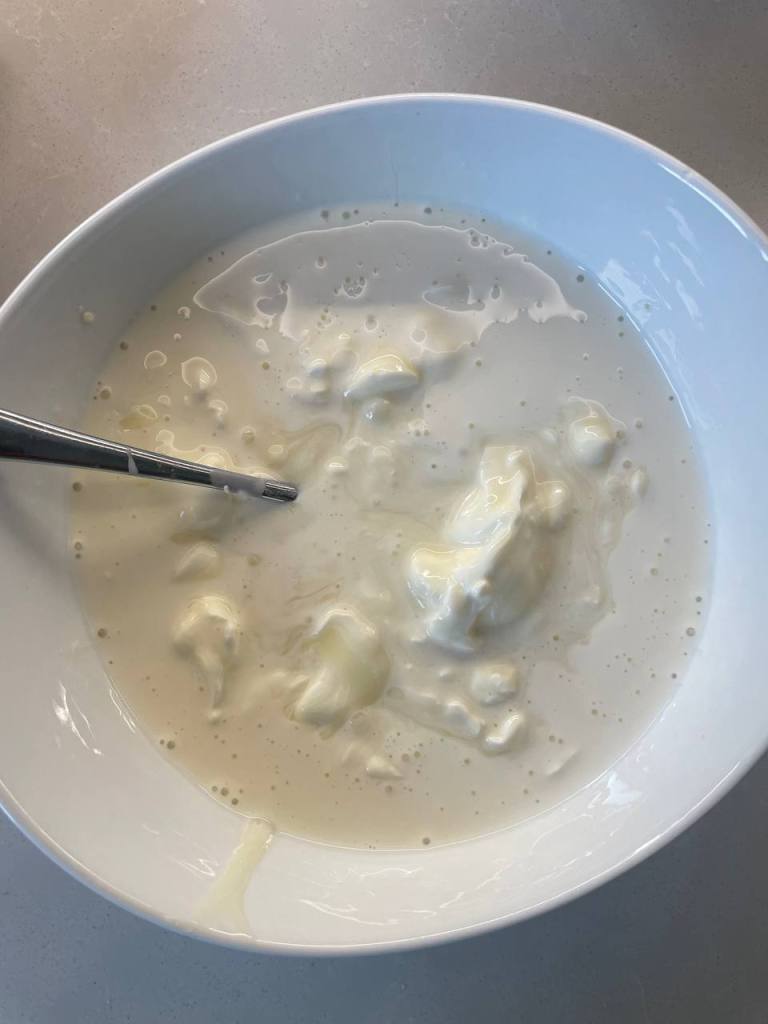
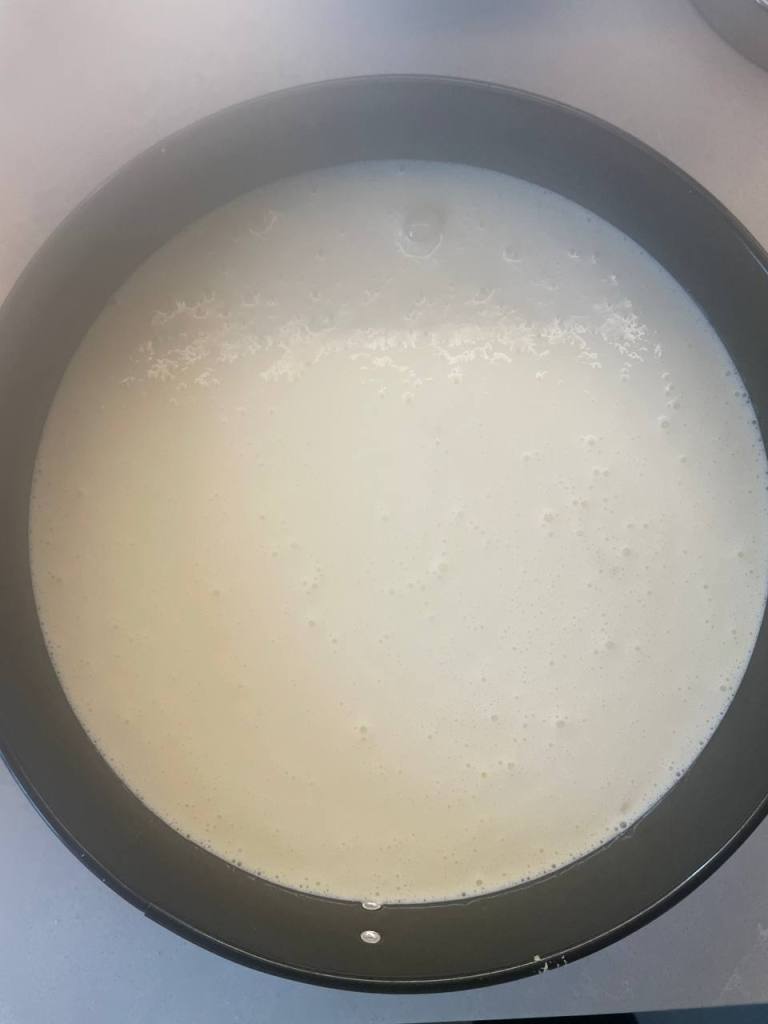
In the meantime, mix the condensed milk, cream and cream cheese until smooth. My aunt uses an immersion blender for this step. I didn’t have access to one so relied on using a whisk and a bowl. As such I didn’t get as smooth of a texture. I think the use of fresh cream also contributed to mine not emulsifying as well, as it is far more liquid than canned cream.
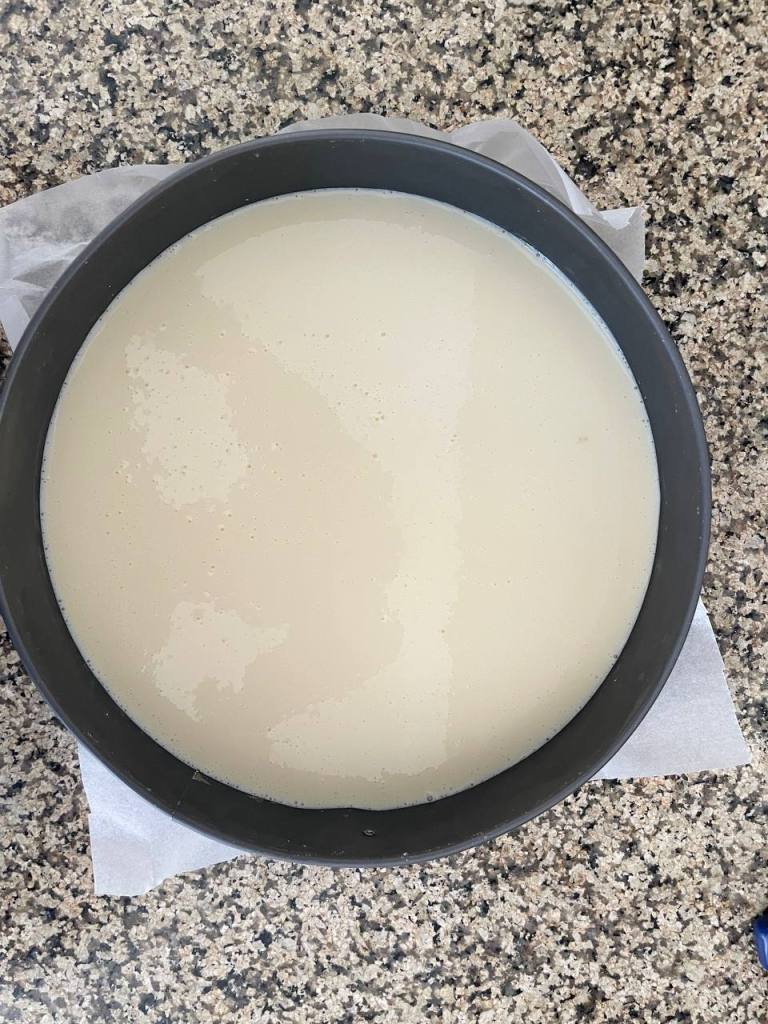
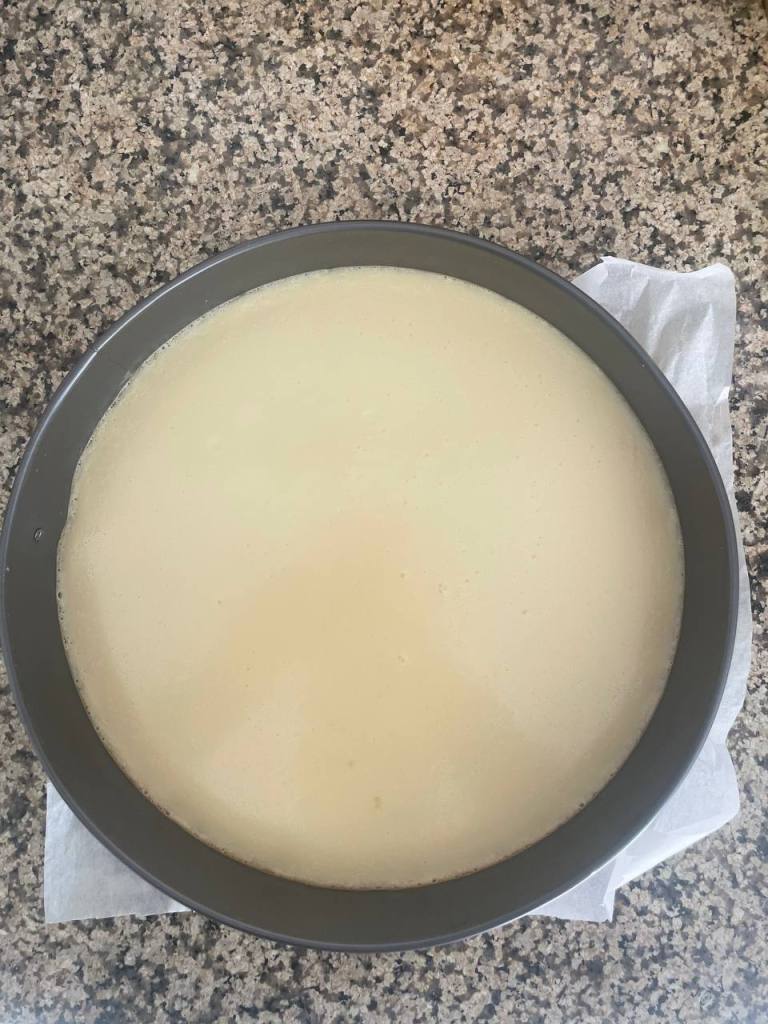
Once smooth, pour this over the baking tin from the fridge.

At this stage, put it in the oven at 170 degrees celsius for around 20 minutes. My aunt does not preheat the oven, so neither did I. The 20 minutes is an approximate value. You should regularly check on it. You’ll know it’s ready when you tap it with your finger, and it doesn’t stick.
At this point, you can take it off the heat and let it cool.
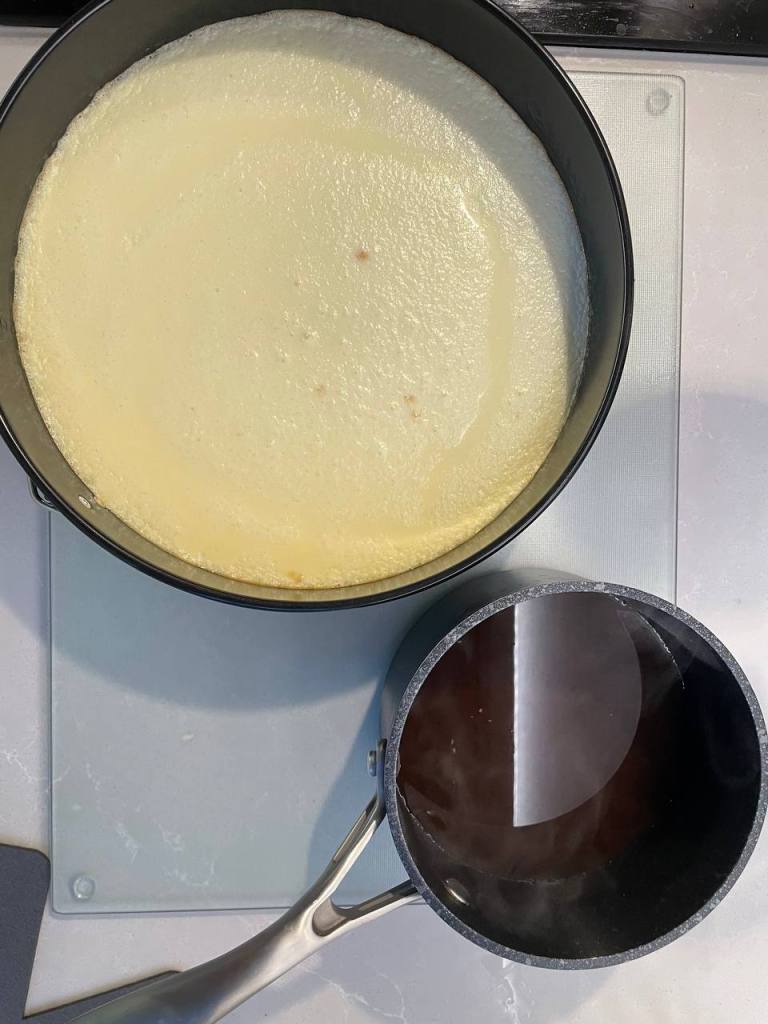
While you let it cool, you can make the caramel.
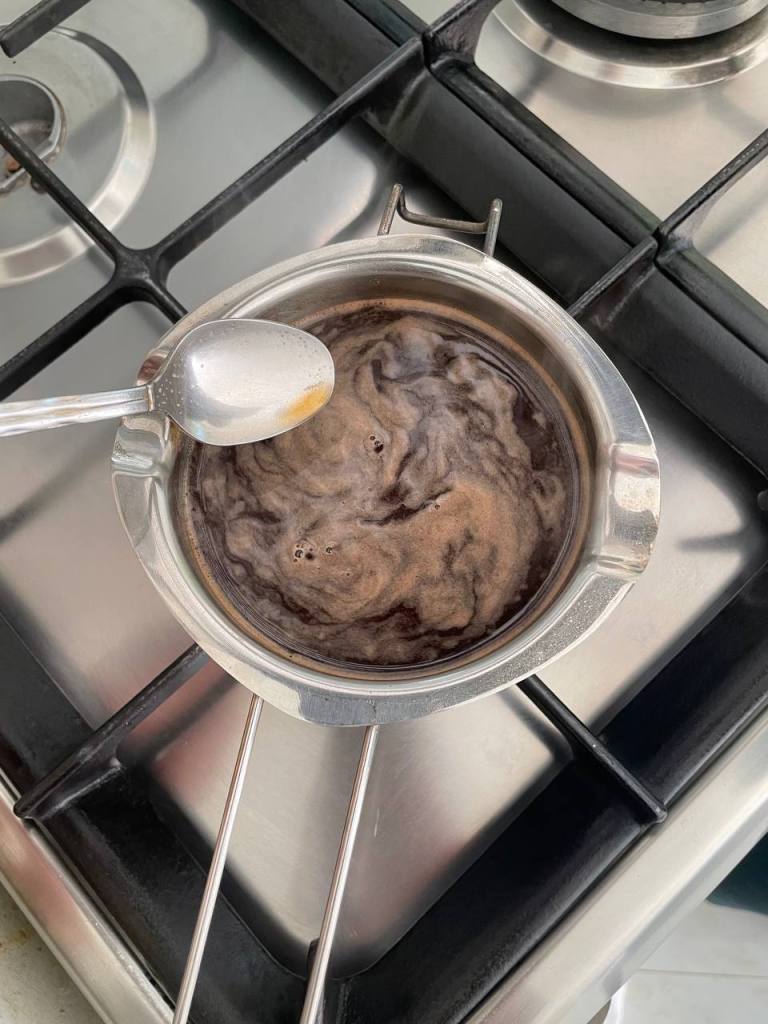
Add 1 cup of water to a pot, and along with it 2 heaped teaspoons of nesquick and the milk sachet of the Carmel powder (in my case, I used 1 teaspoon of pure cocoa powder as I wanted it slightly less sweet. I assumed I’d get the same color as I wasn’t using as much of the cocoa powder).
Keep mixing on low heat, and stop the moment it comes to a simmer.
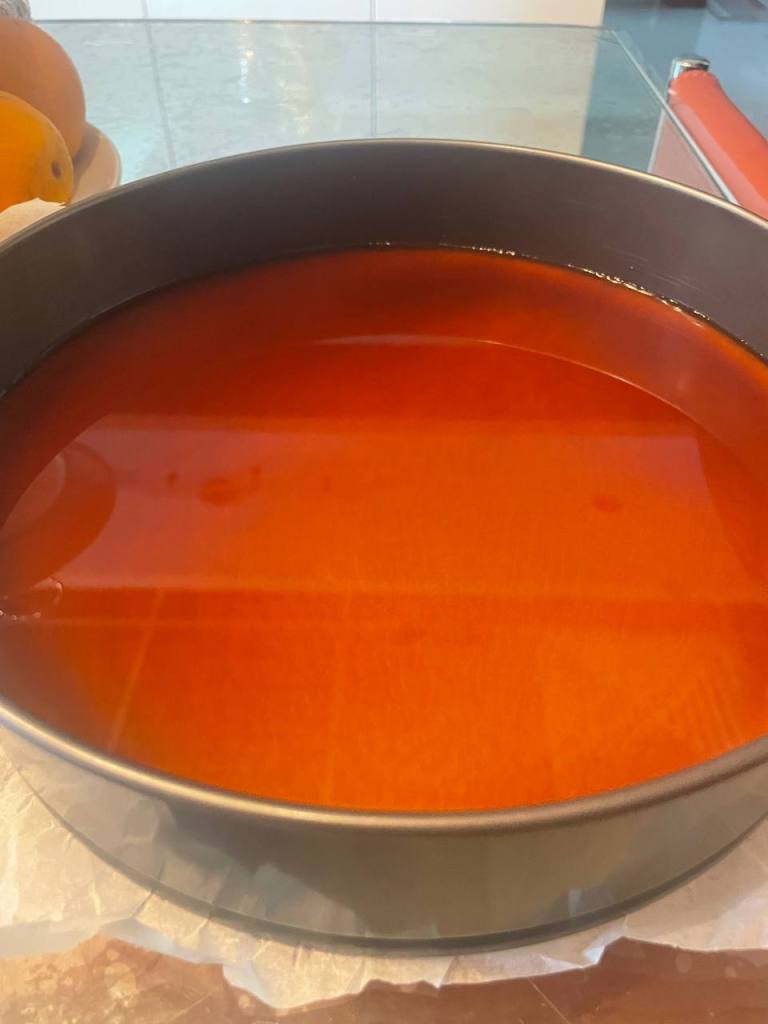
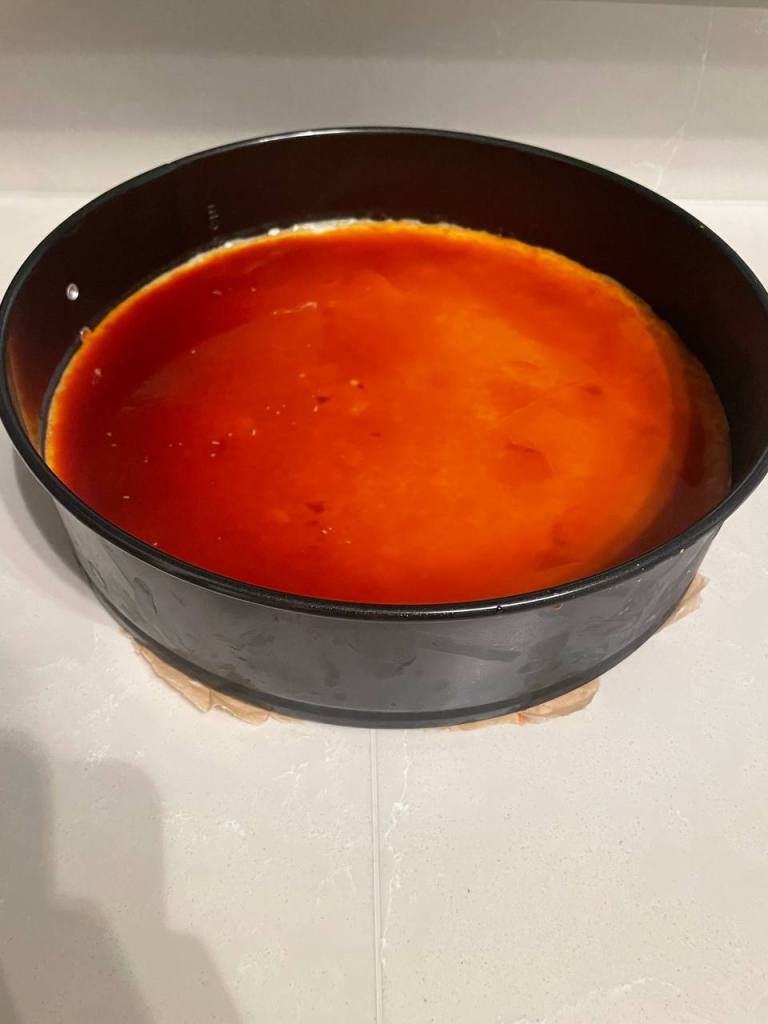
When this cools enough so that a drop on your fingers doesn’t burn, you can pour it over the cake. Here you should keep the layer thin, not more than 2 mm. In order to make sure that the liquid doesn’t break the cake, you can pour is over a small spoon and let it overflow onto the cake.
Try to make sure to cover the cake as uniformly as possible, to get a nice even color. Sometimes where your base wasn’t smooth you’ll notice that the liquid will collect in one area. You can put issues under the mould to let gravity do its work and even the liquid out.
You can then let it sit in the fridge until the caramel sets.
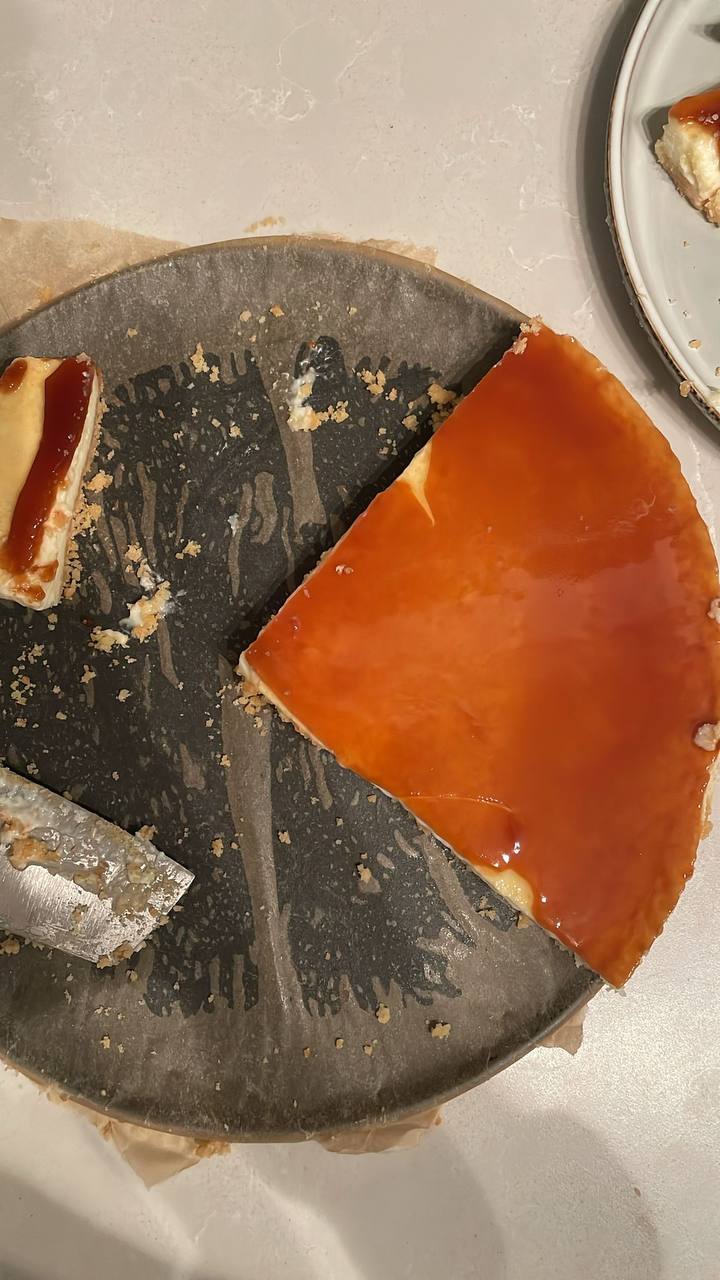
When you’re ready to serve, be sure to pass a knife around the cake to separate it from the tin cover. If you don’t do this, releasing it can break the cake. The cake should look beautifully smooth.

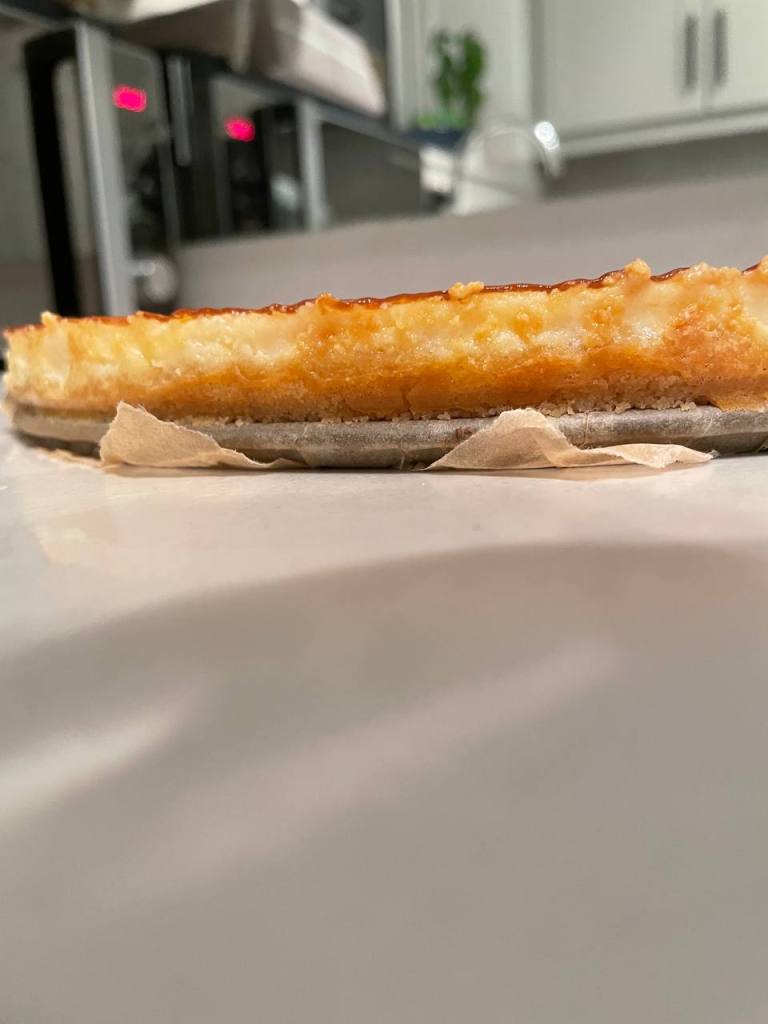
Now… slice and enjoy your life.
Concluding Remarks
For a first attempt, I thought that this turned out really good. I was very pleased.
However, I am my biggest critic:
- When making the Carmelle, I found it a bit too watery. I think it’s because I used a large Ikea cup for the water. Better err on the side of having it thicker, so use a standard cup, or even less than a standard cup. That said, I was very pleased with the color and flavor. I thought that cocoa powder worked very well, an excellent substitute for Nesquick
- The cheesecake had the right texture, but it tasted too much of condensed milk. I think the main culprit for this is the cream. Next time I’ll either find canned cream, or use the same amount in weight.
- The biscuits were great. I worried that it wouldn’t be the same without Leibniz. However, I must admit that the Leibnitz ones have the most pleasant fragrance when toasted. This was missing.
I’m excited to make this again. I think there’s lots of potential to make it healthy too, by adding some protein powder, changing up the biscuit and using Greek yoghurt.

Leave a comment